Vuforia Dev Portal
First, go to Vuforia, and visit the Dev Portal in the top right
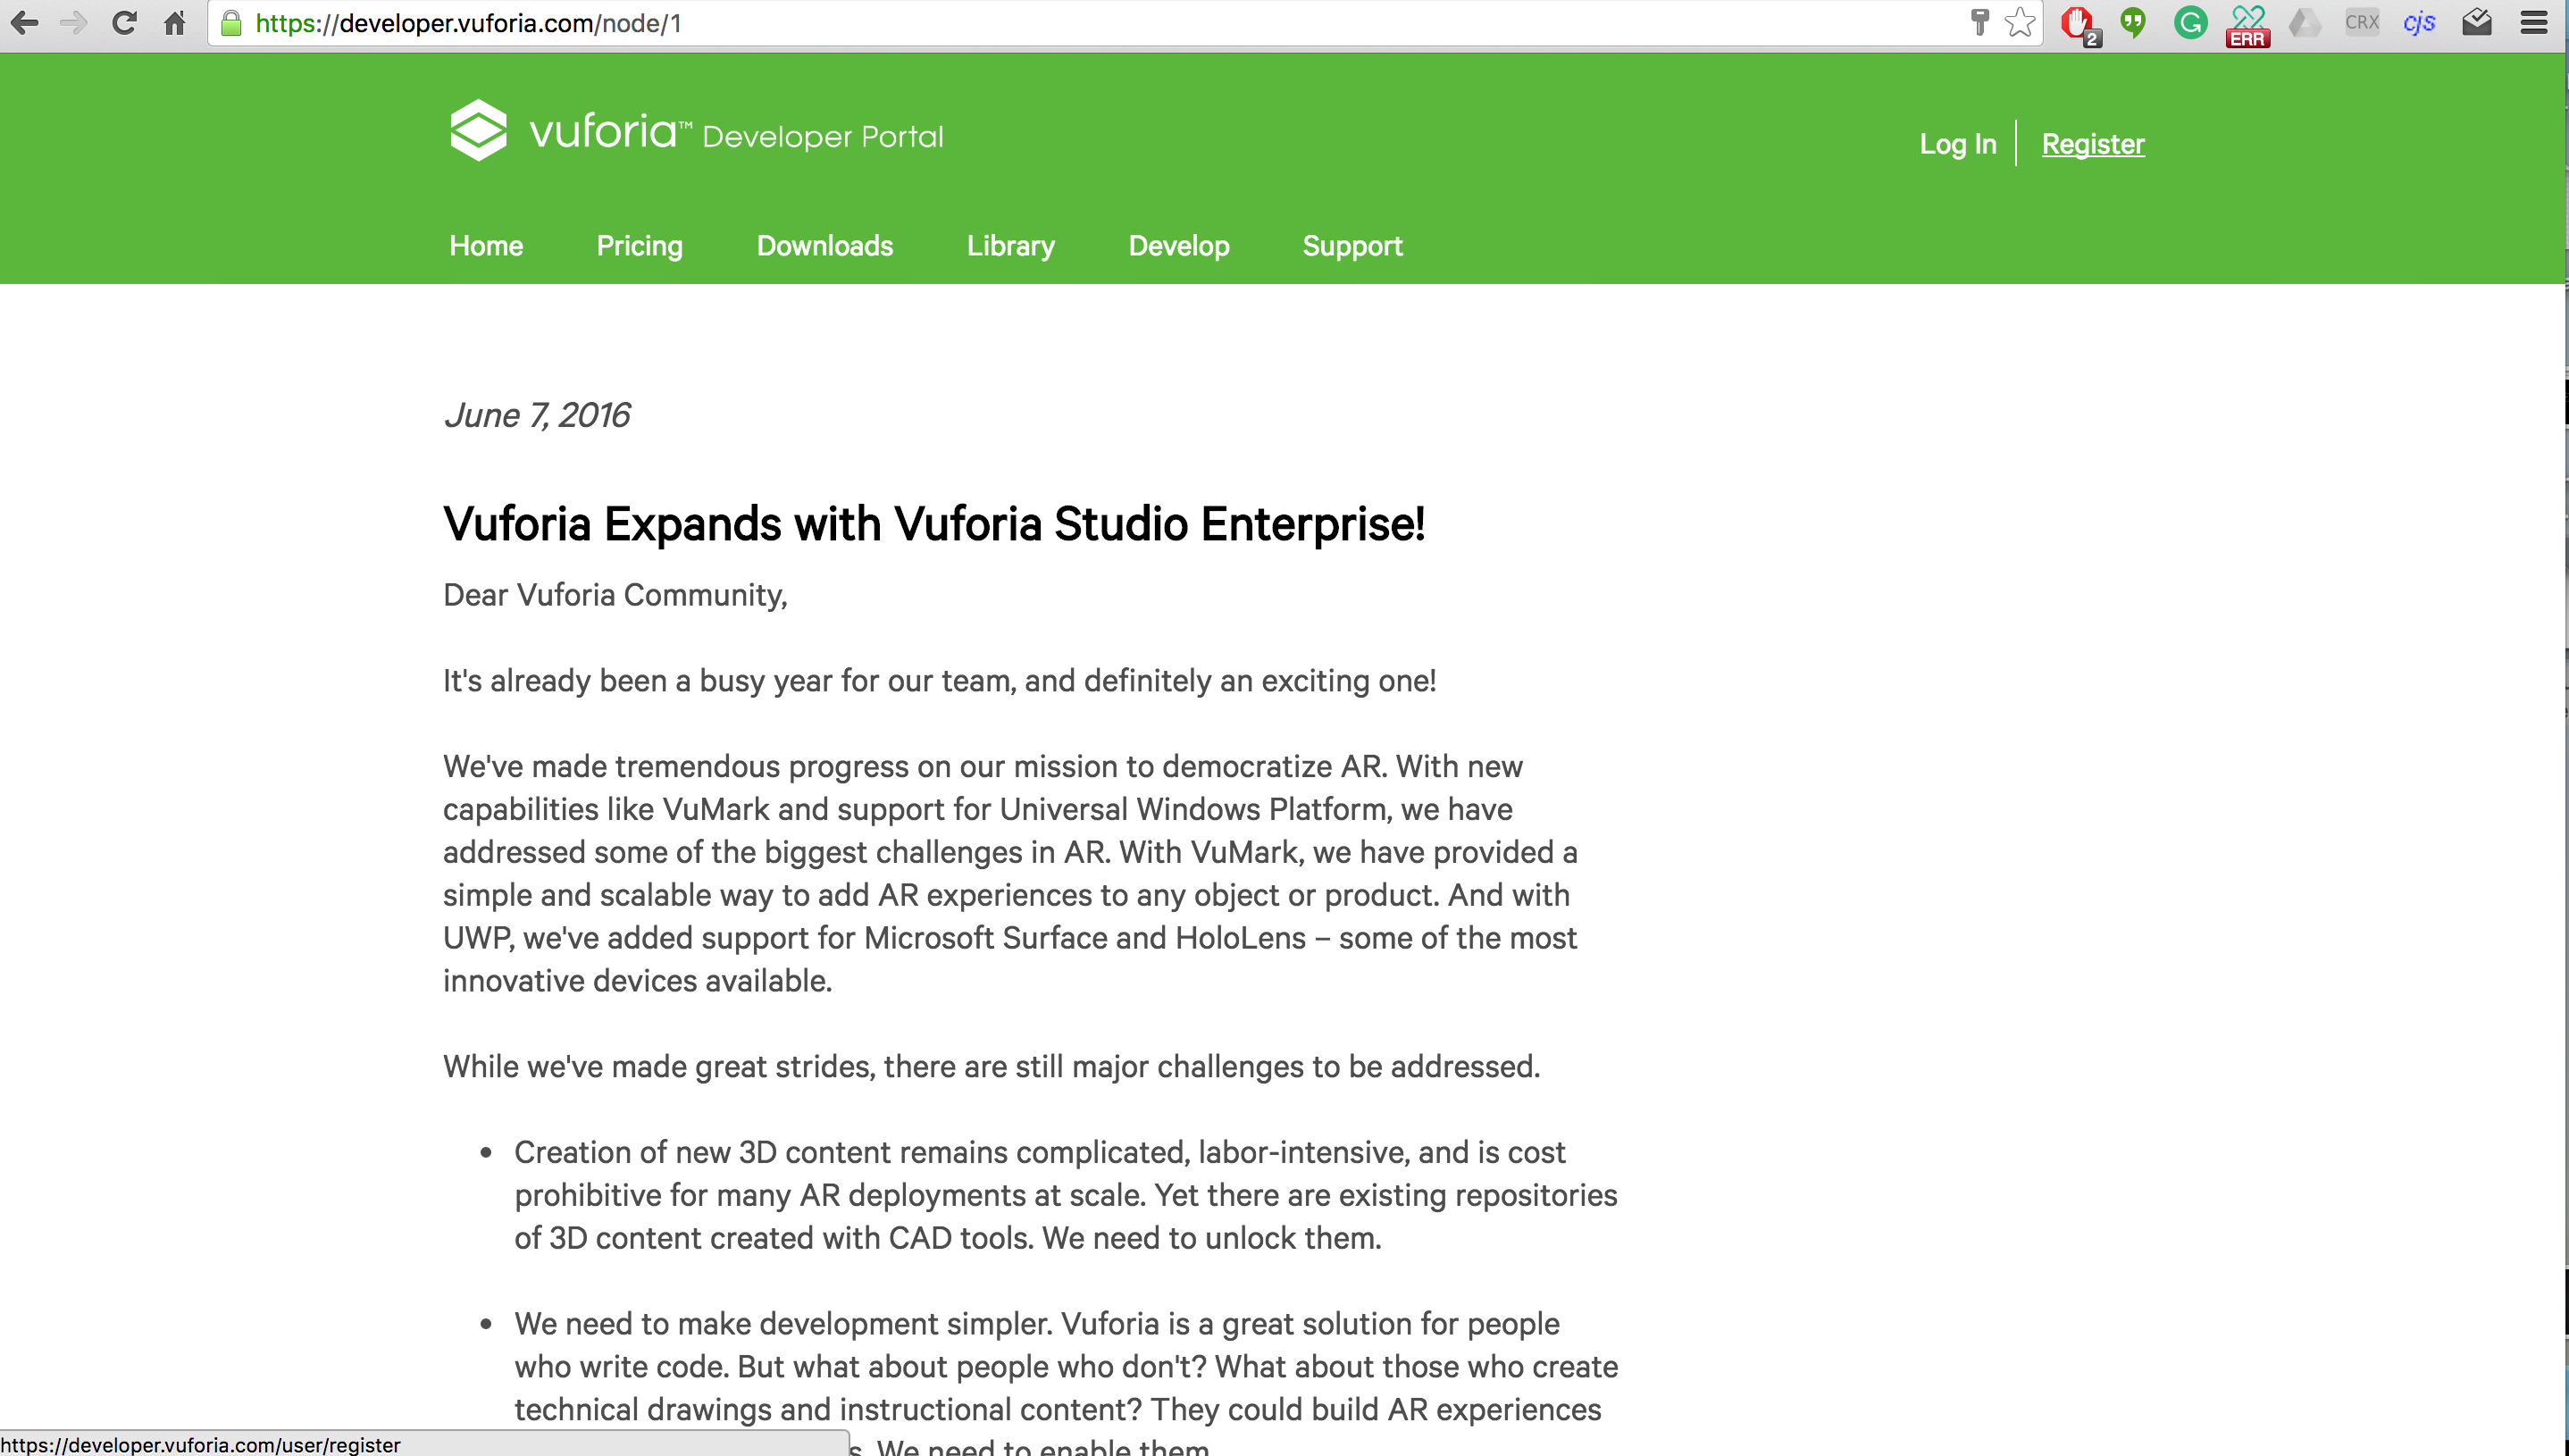
Register
Register by clicking the Register button in the top, right hand corner.
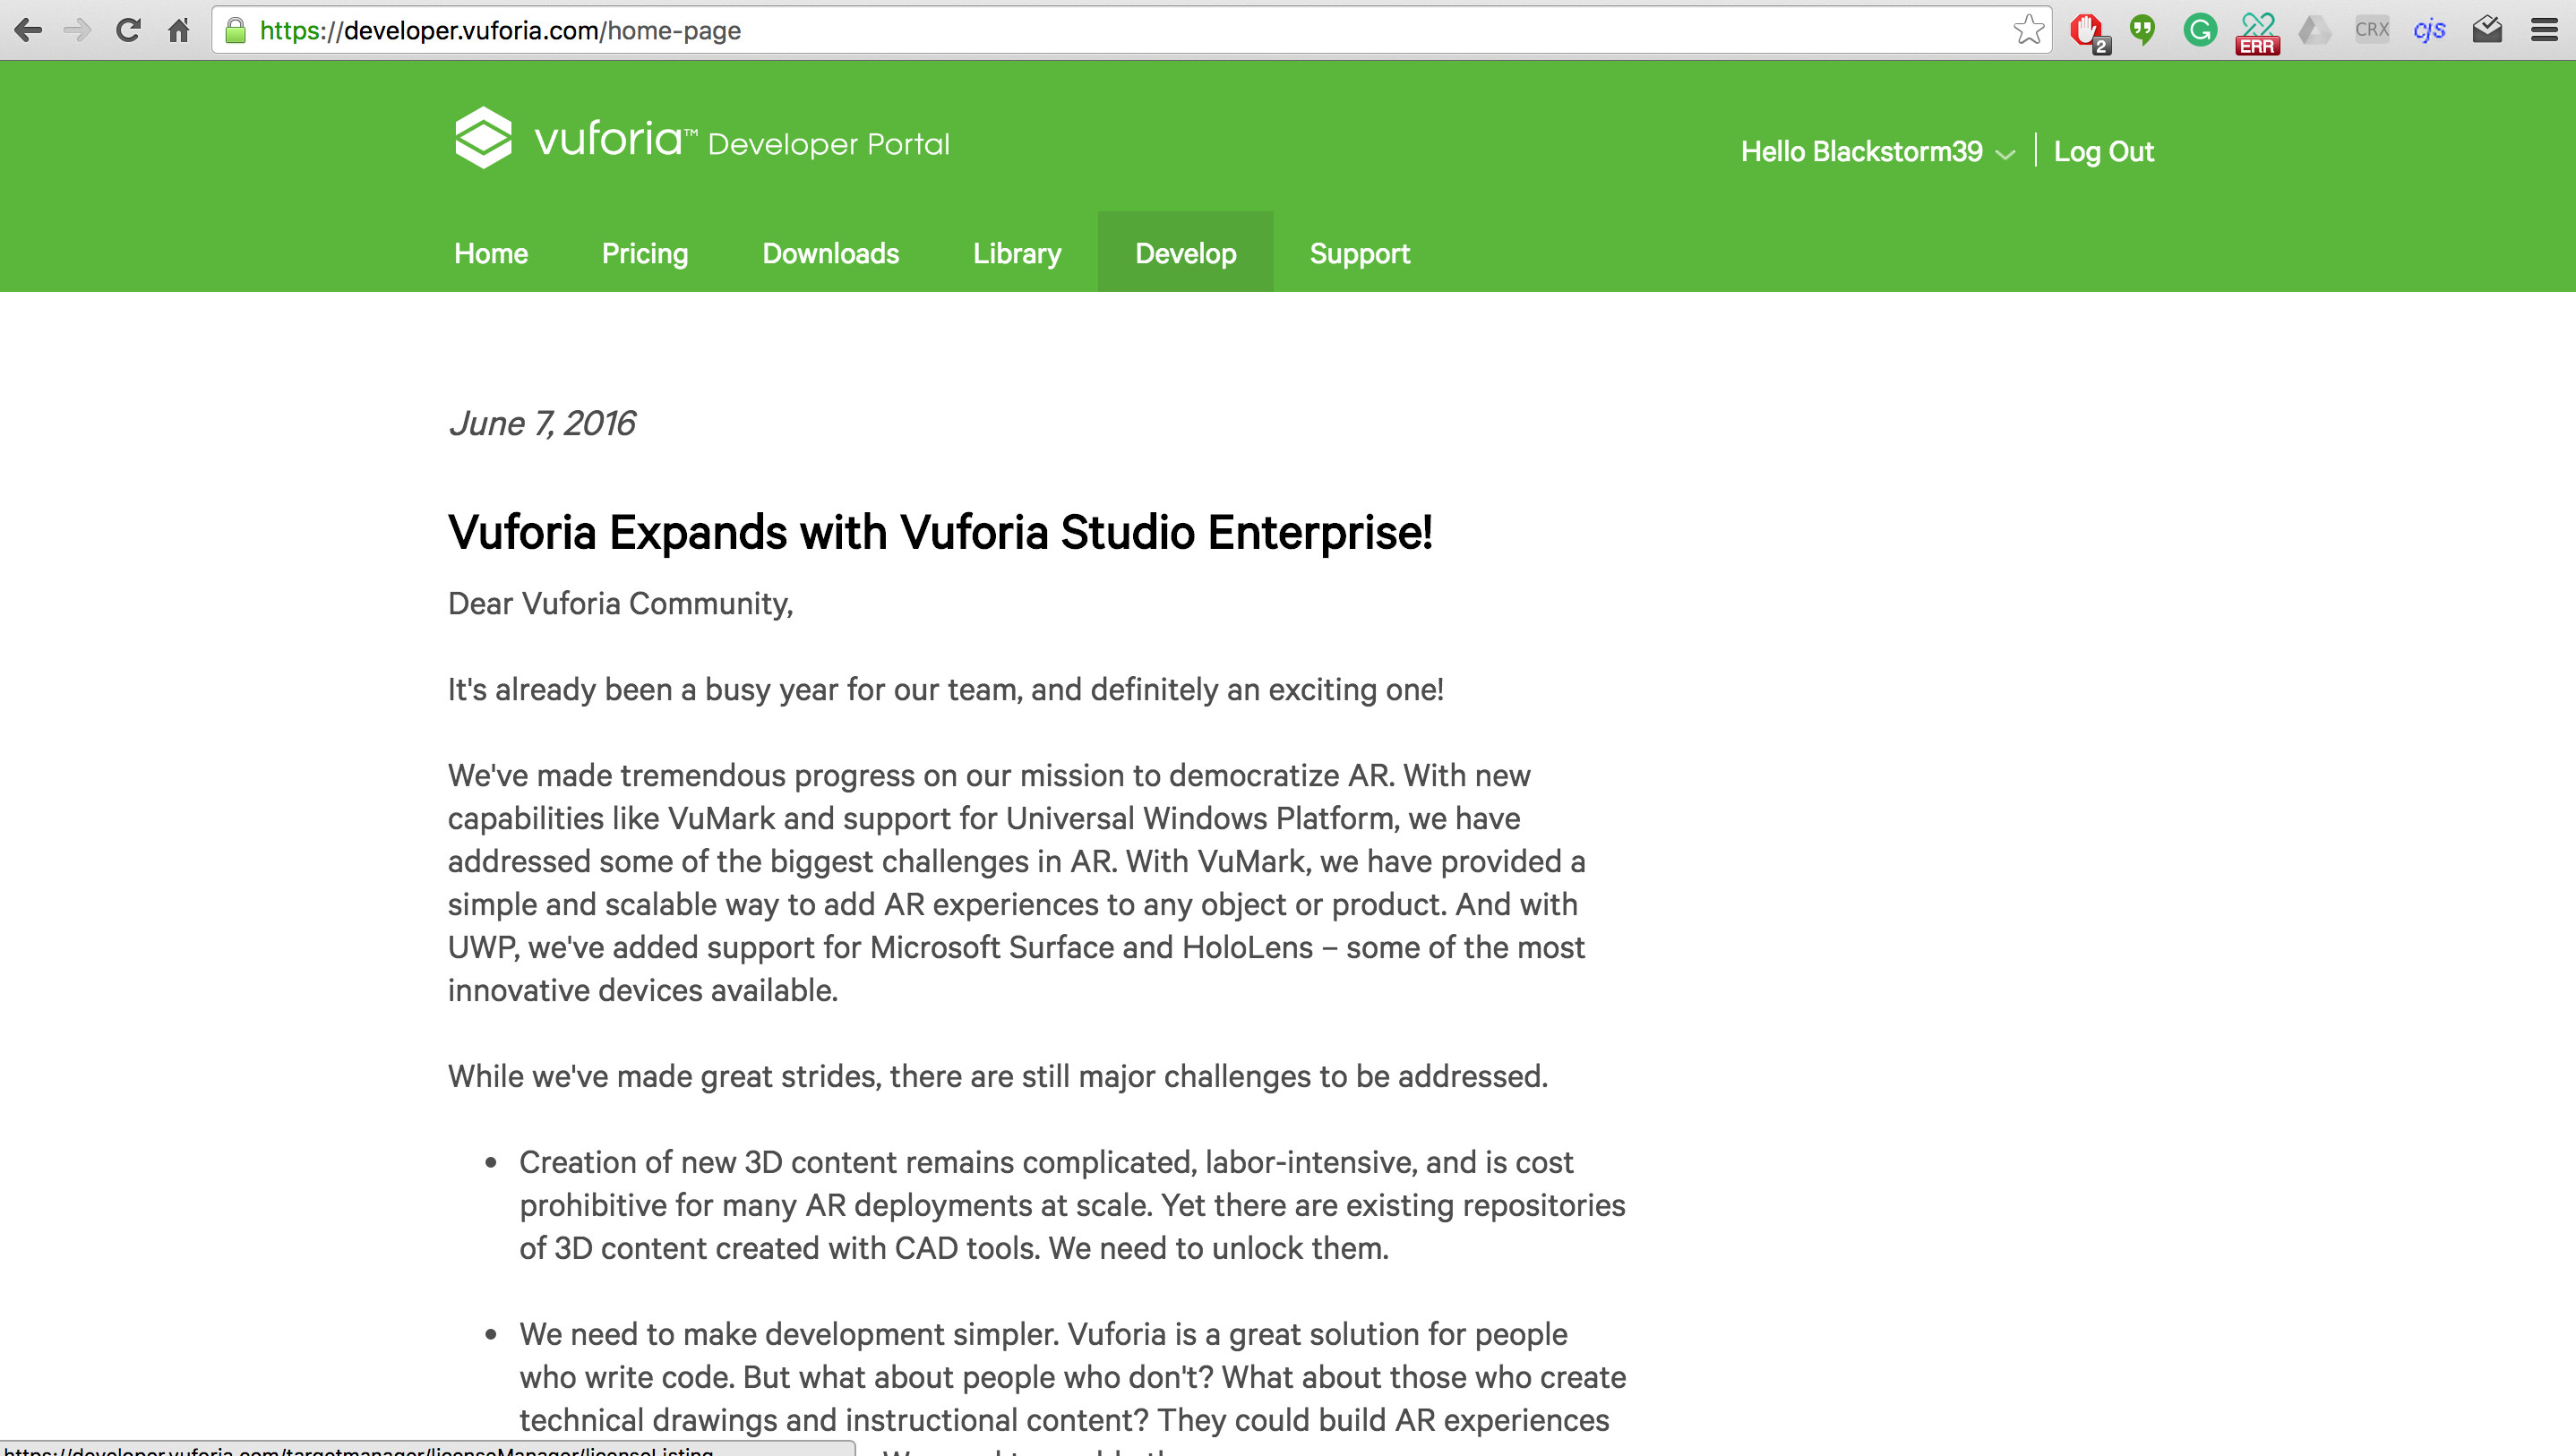
Develop
Then go to the Develop Page by click on the Develop button.
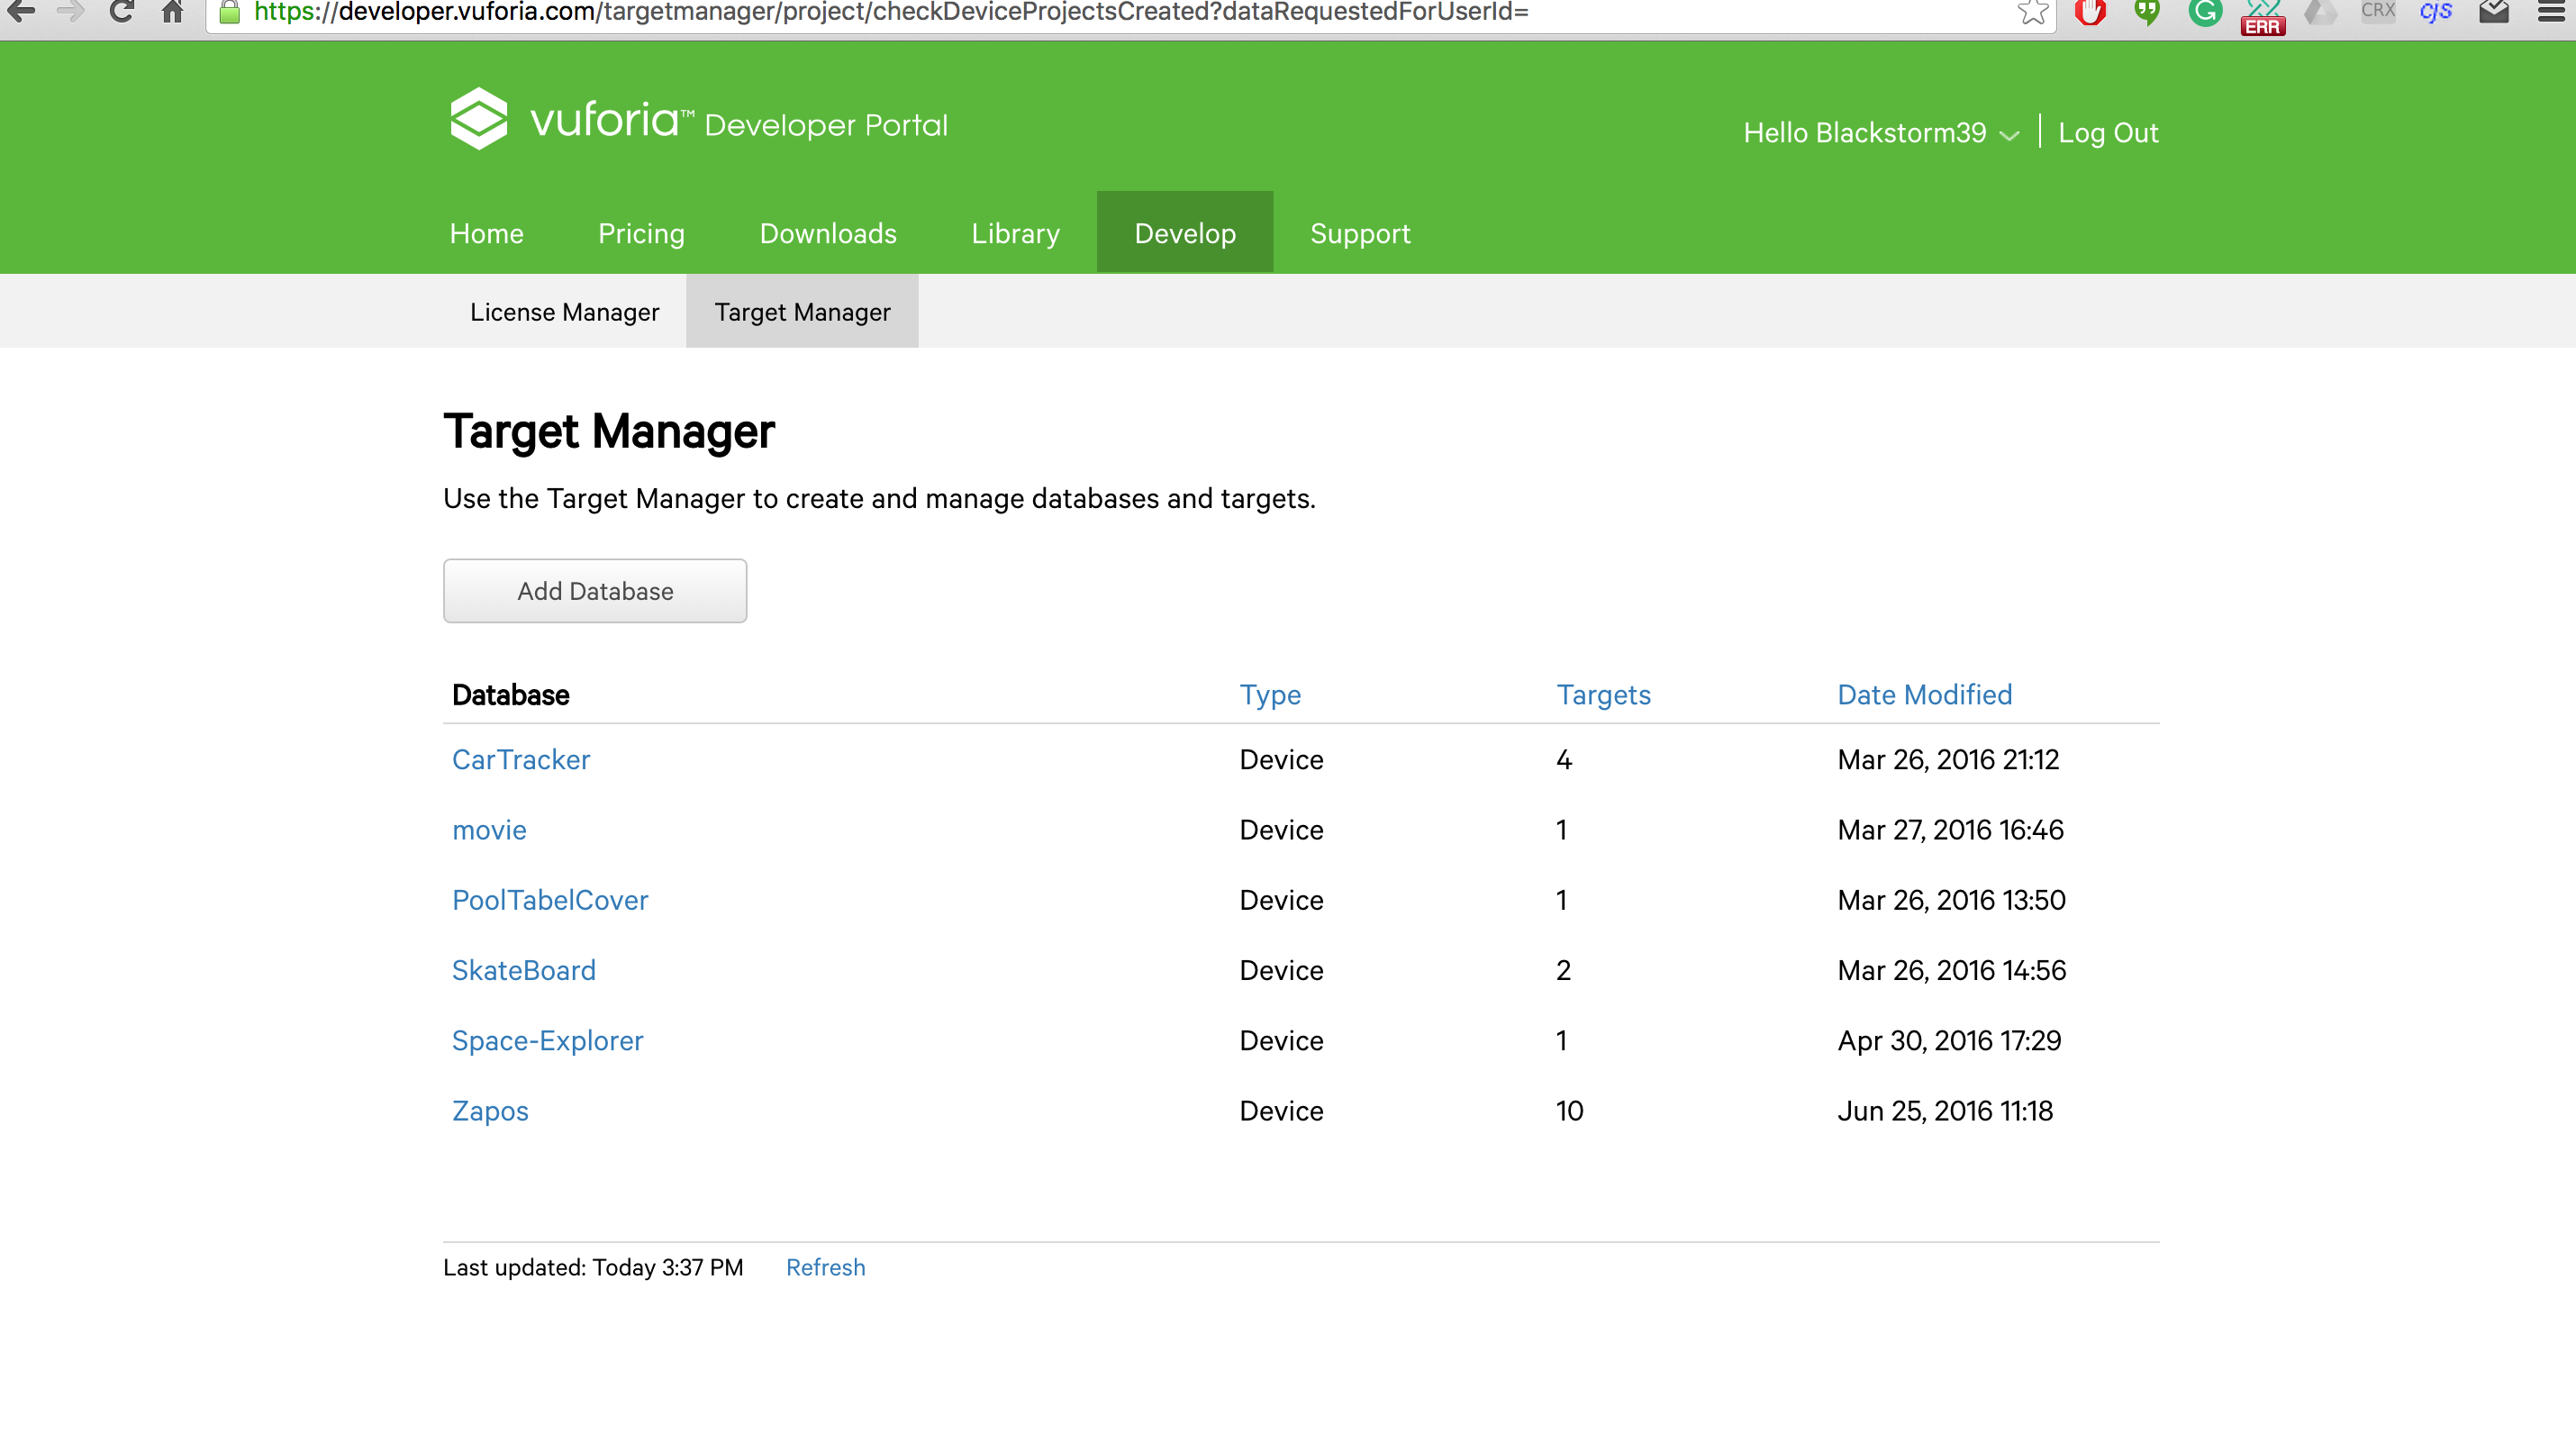
Target Manager
Then go to the Target Manager.
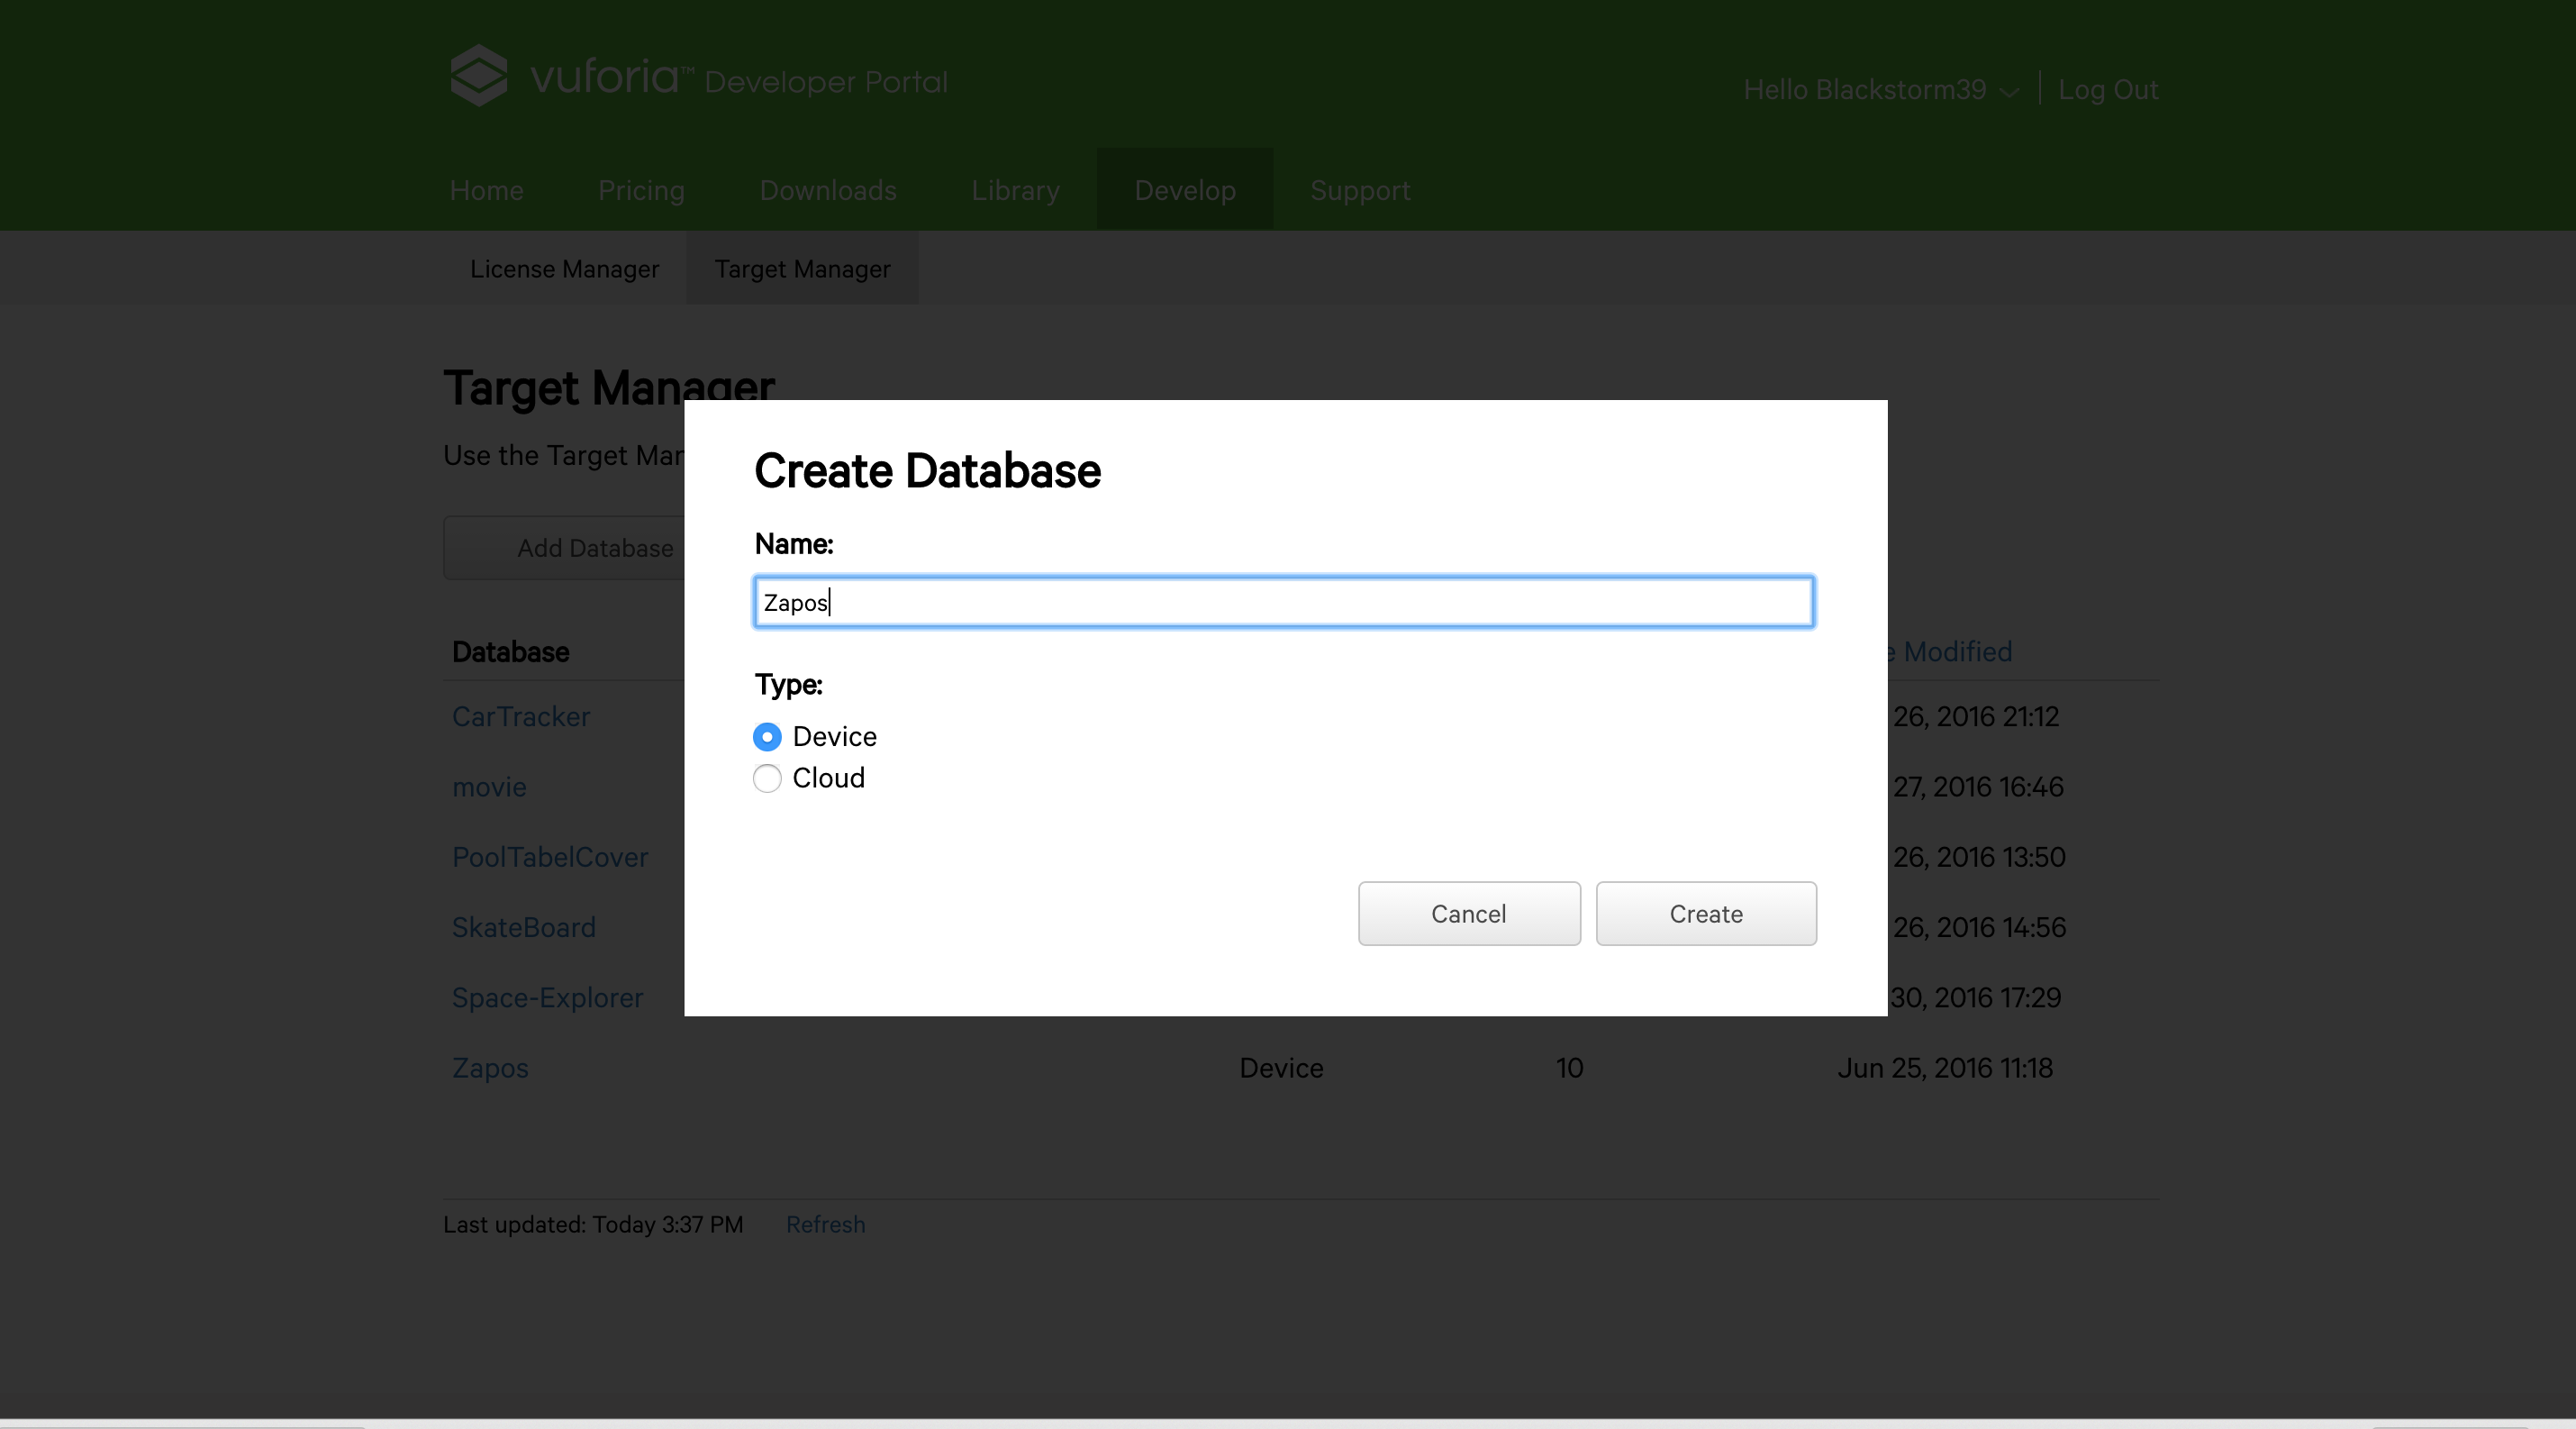
Create Database
Create a Database, then title it.
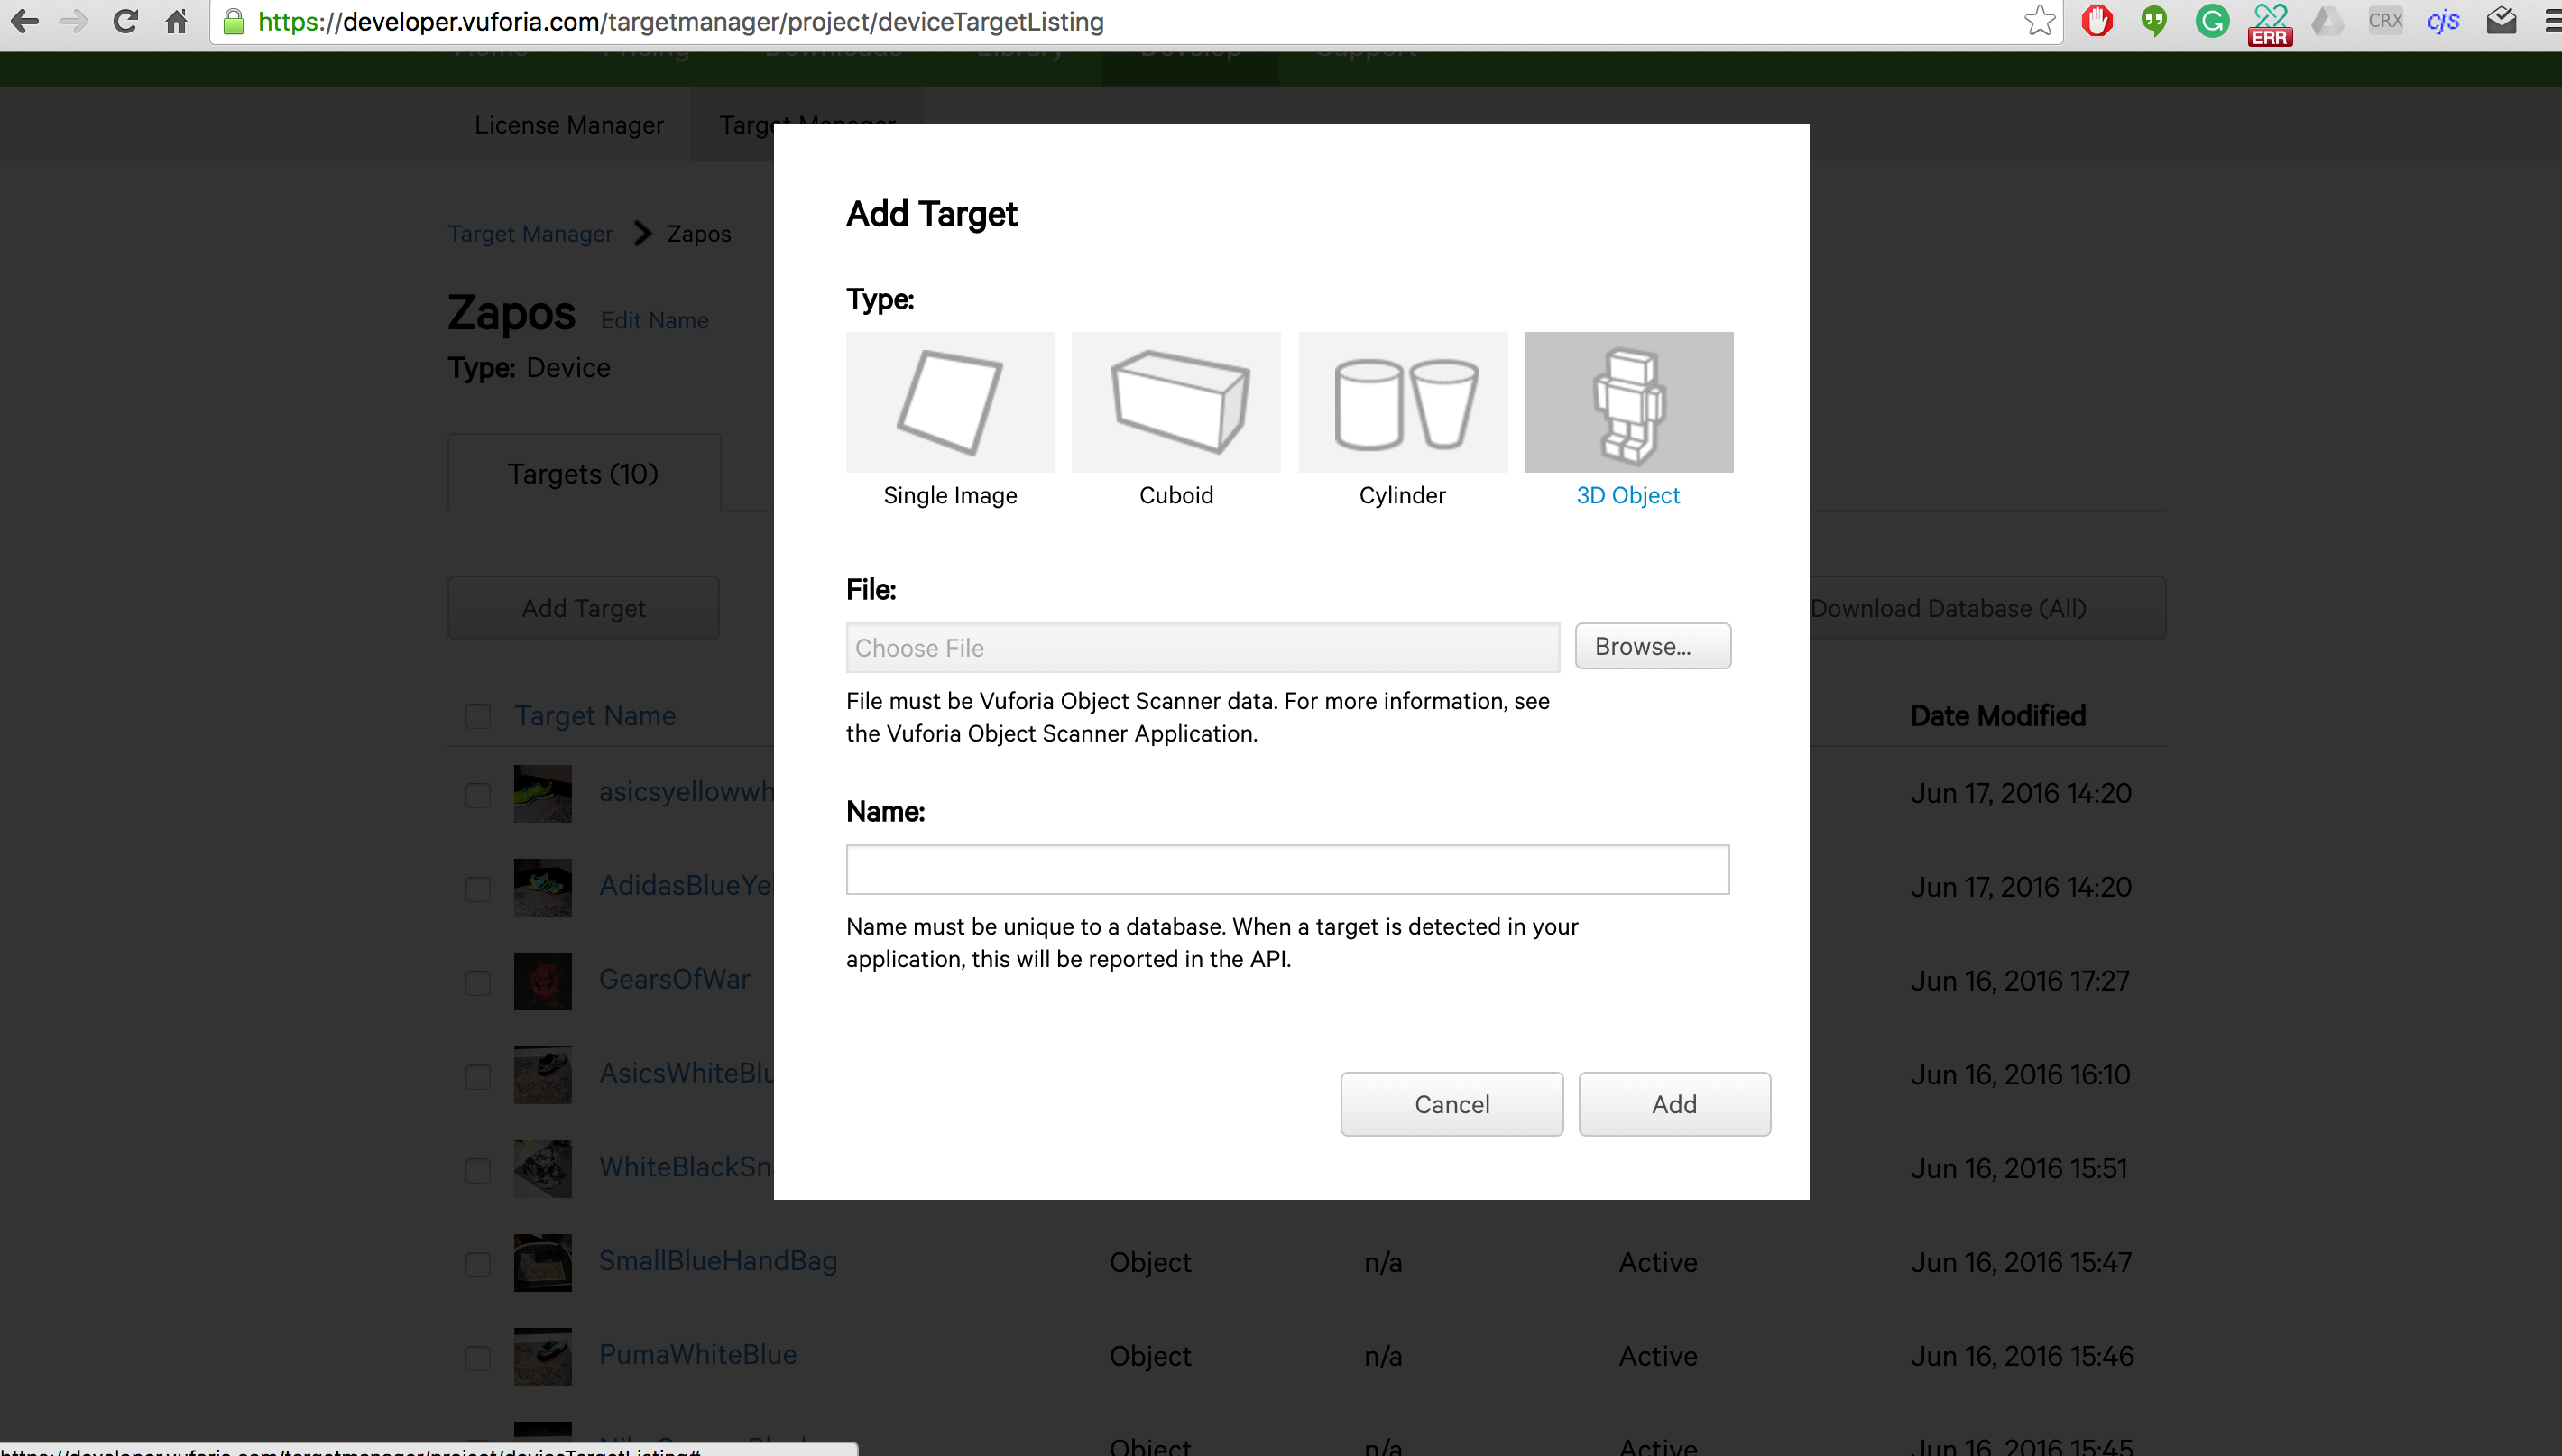
Add Target
Add a new Target. You can choose between Single image (this would be used for tags, QR codes and logos), Cuboid, Cylinder and 3D Object (this could be used for recognizing real life items like shoes, furniture and more). To use the 3D Object recognition function you must scan the item with the Vuforia Scanner for Android. (Found here)
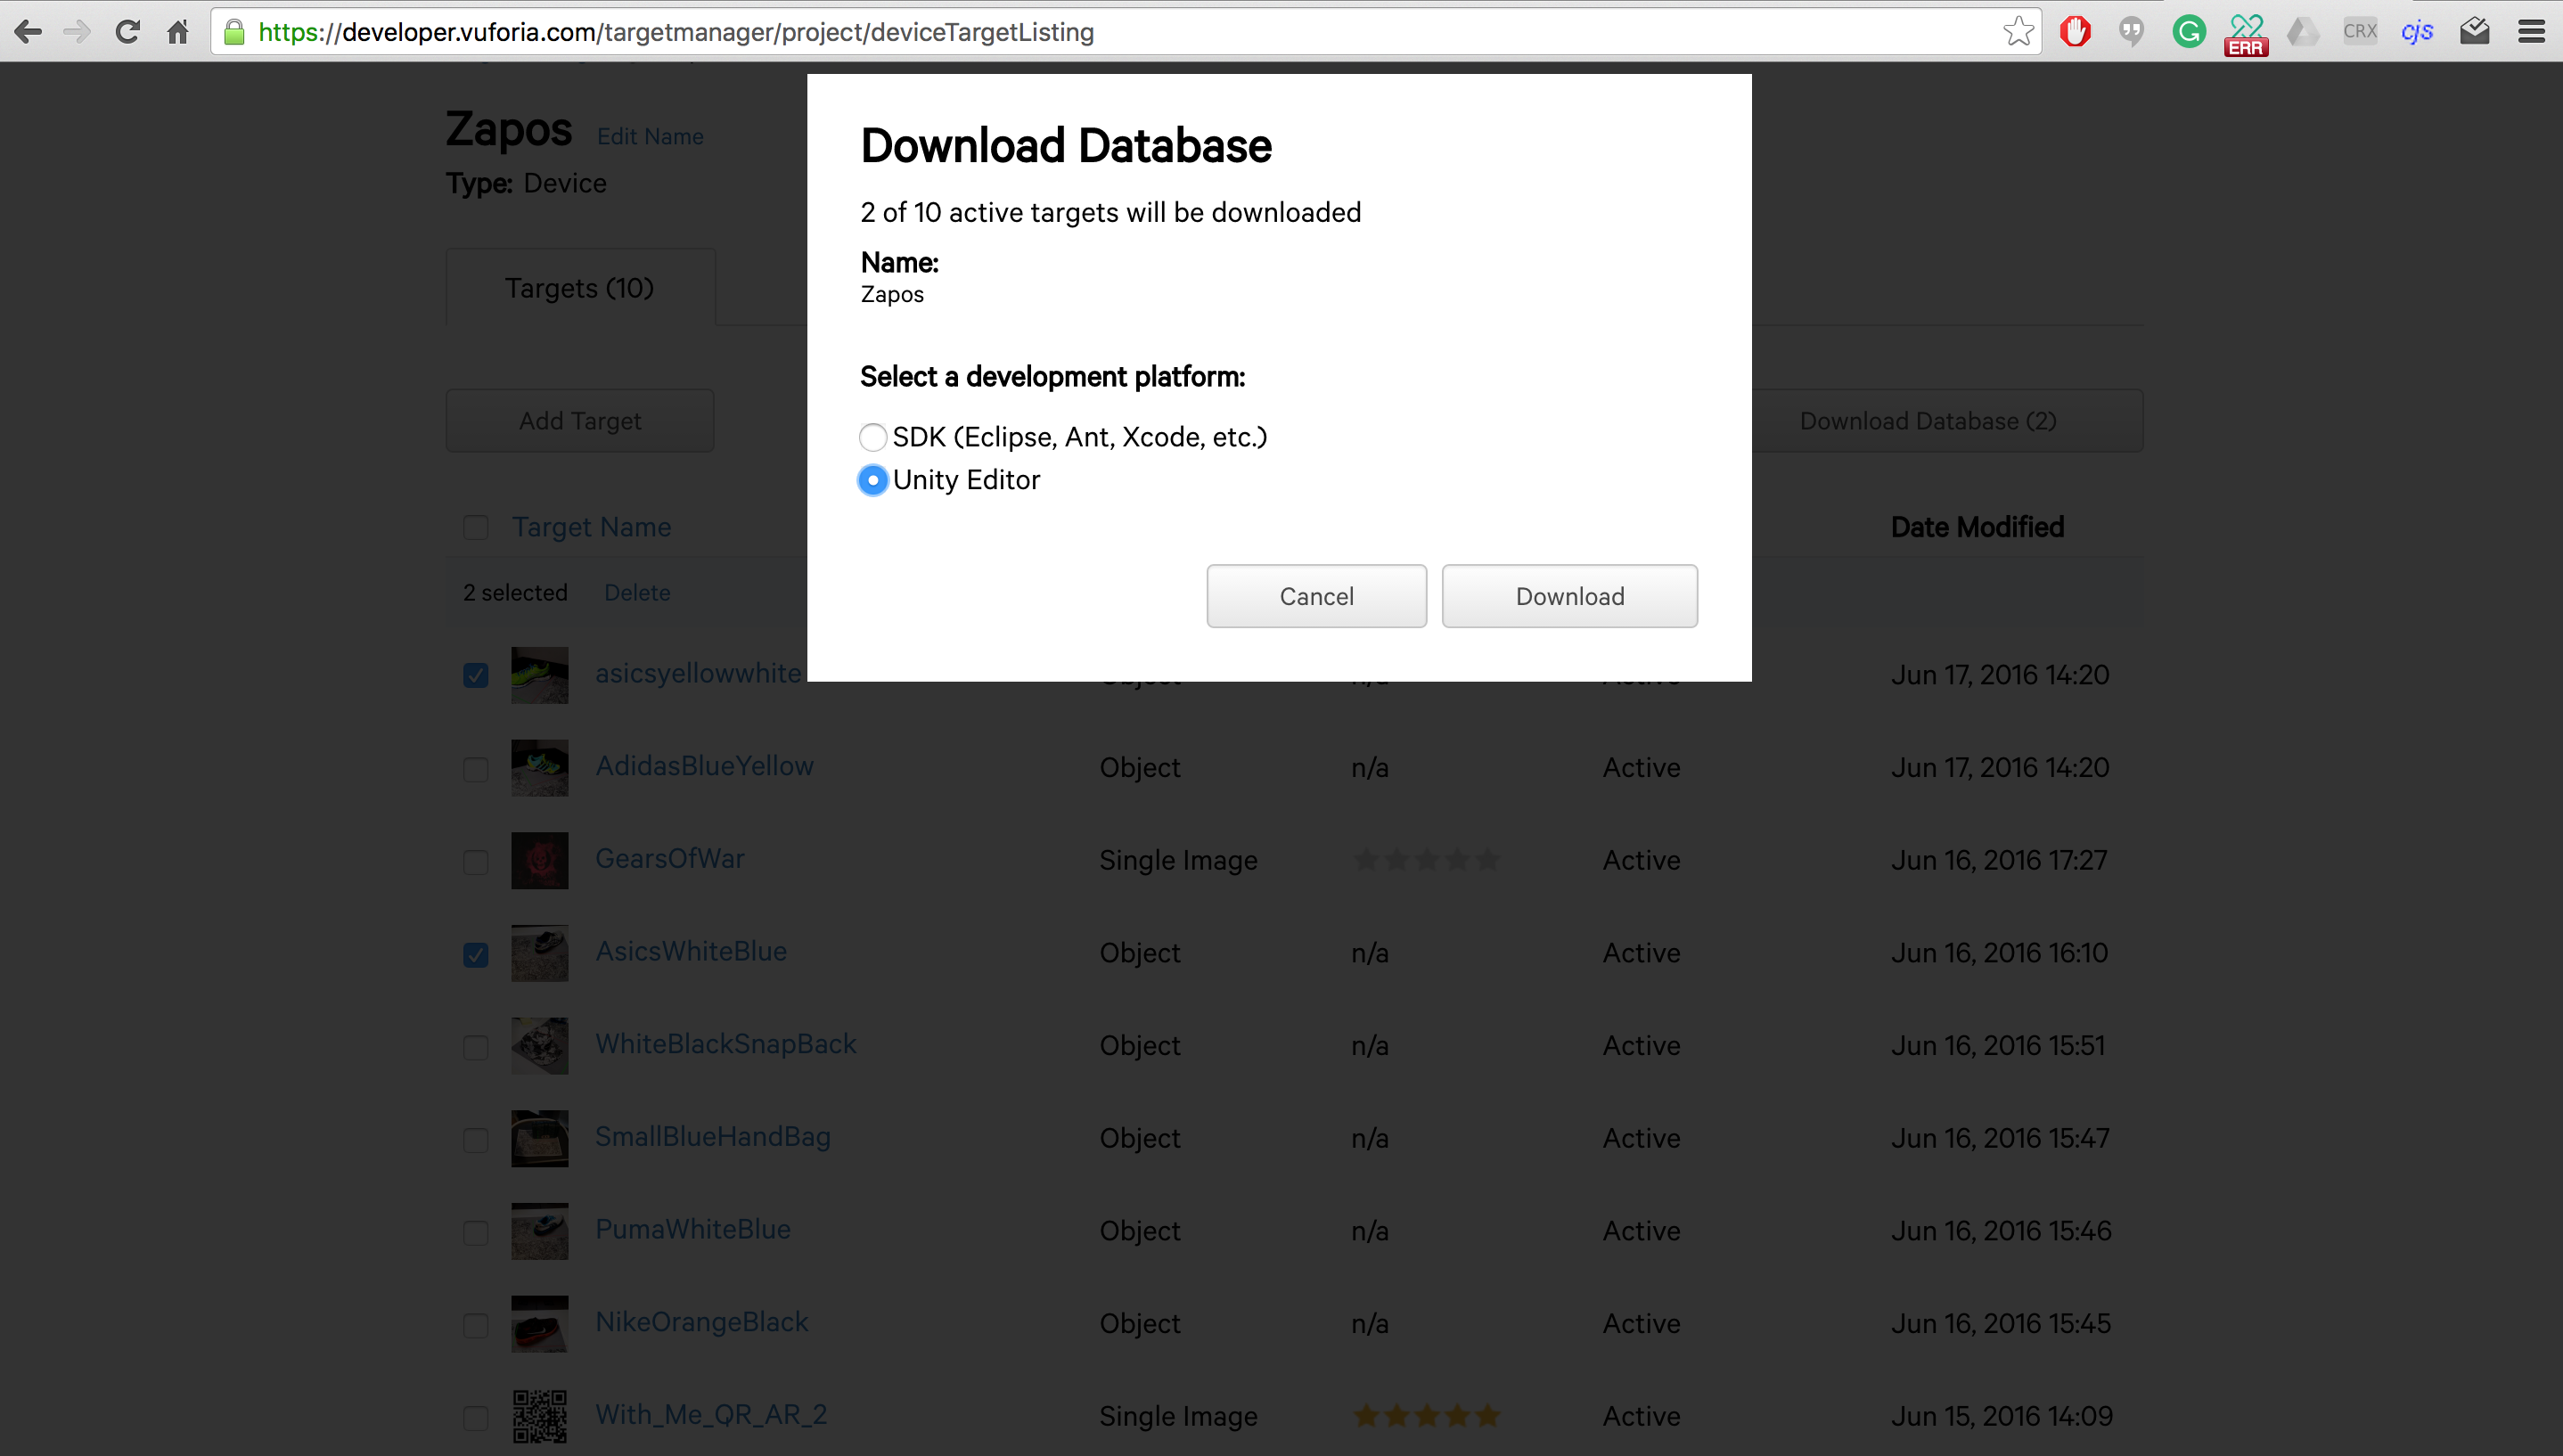
Download for Unity
Download the Database and choose the Unity option.
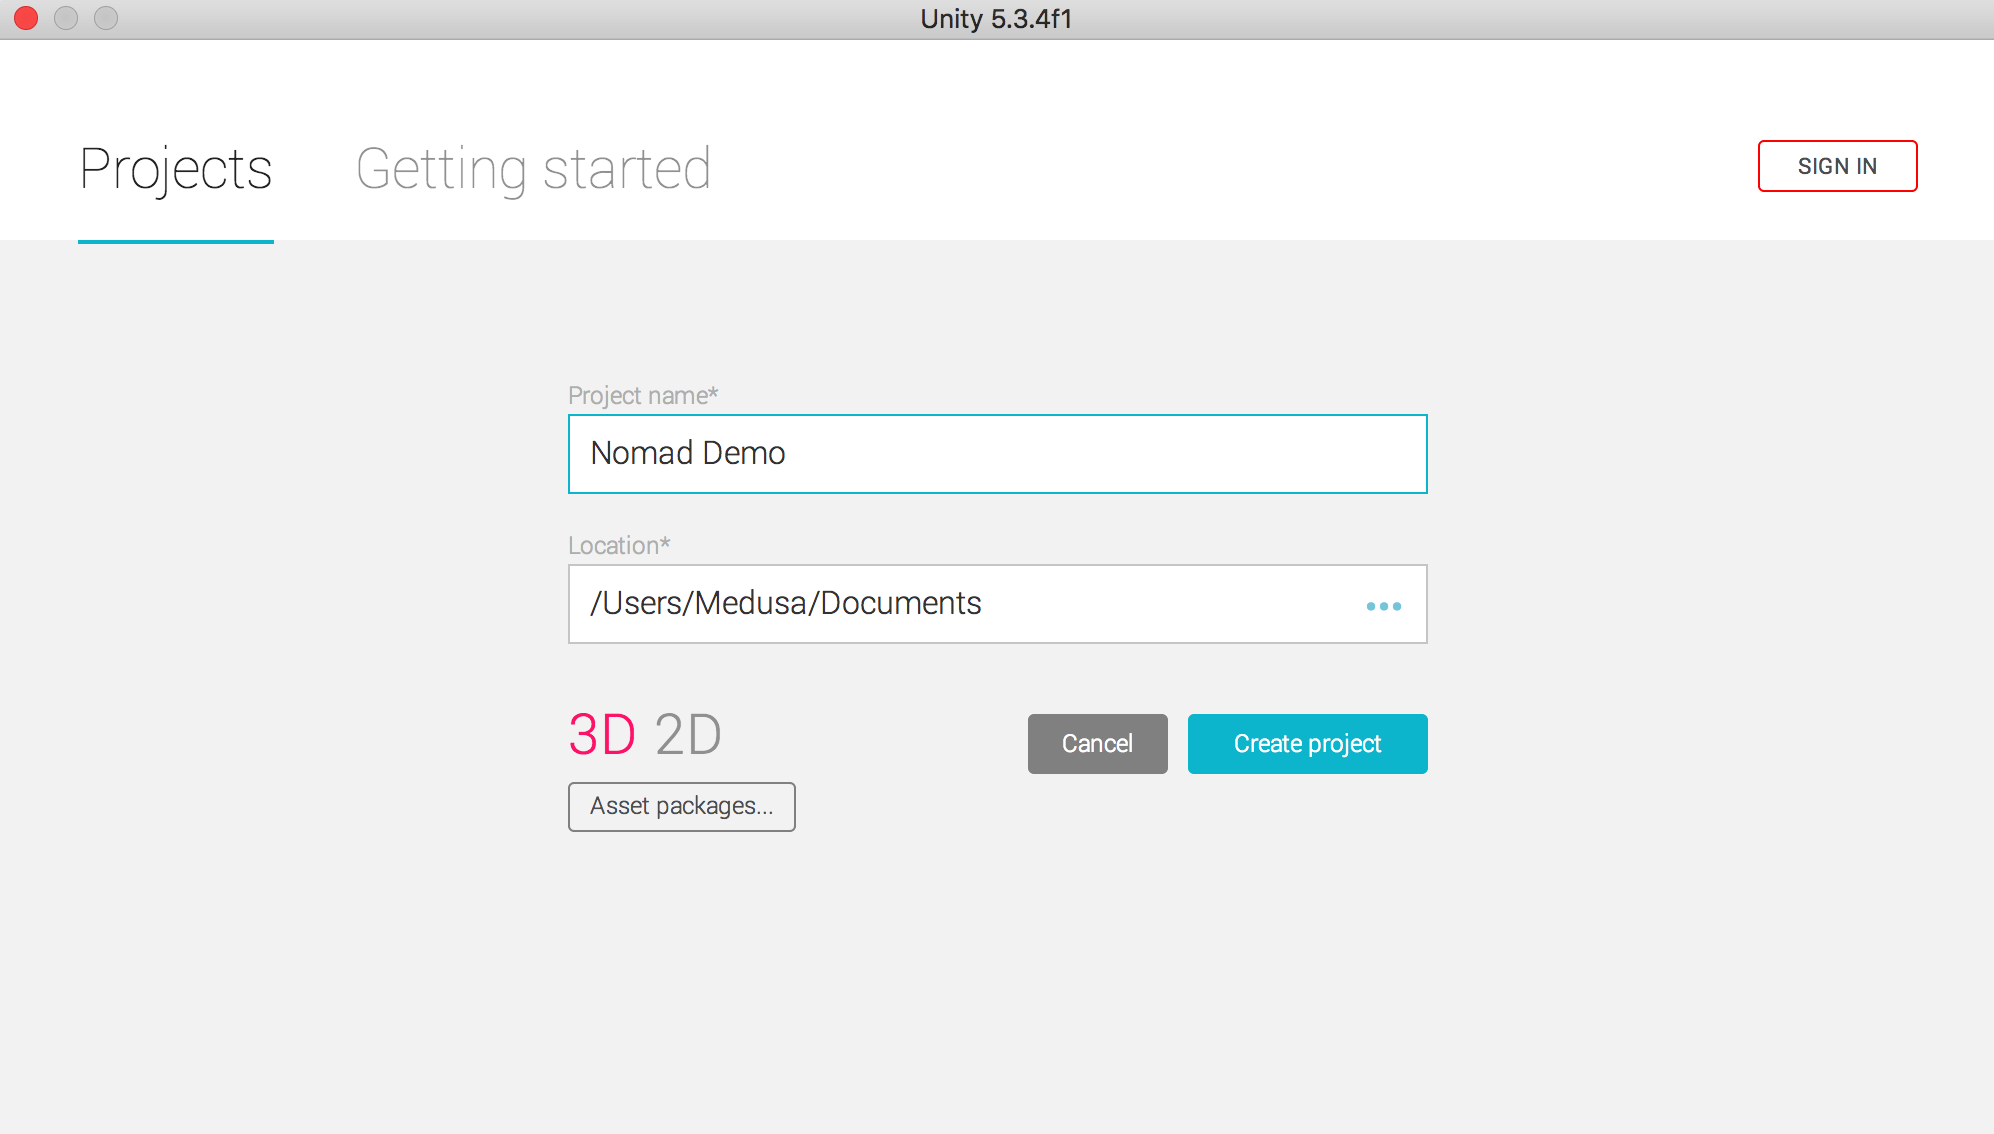
Create New Unity Project
Open a new project in Unity. If you don't have Unity, download it from here.
Download NomadSDK
Download the NomadSDK.
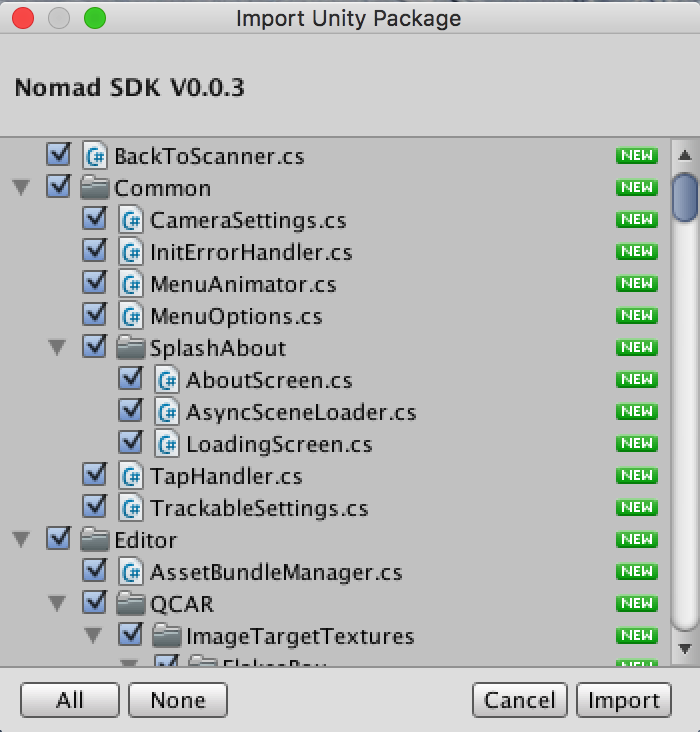
Import Package
Drag the NomadSDK into your Unity Project
Finish Import
Click on Import in the dialopg box in order to complete the import.
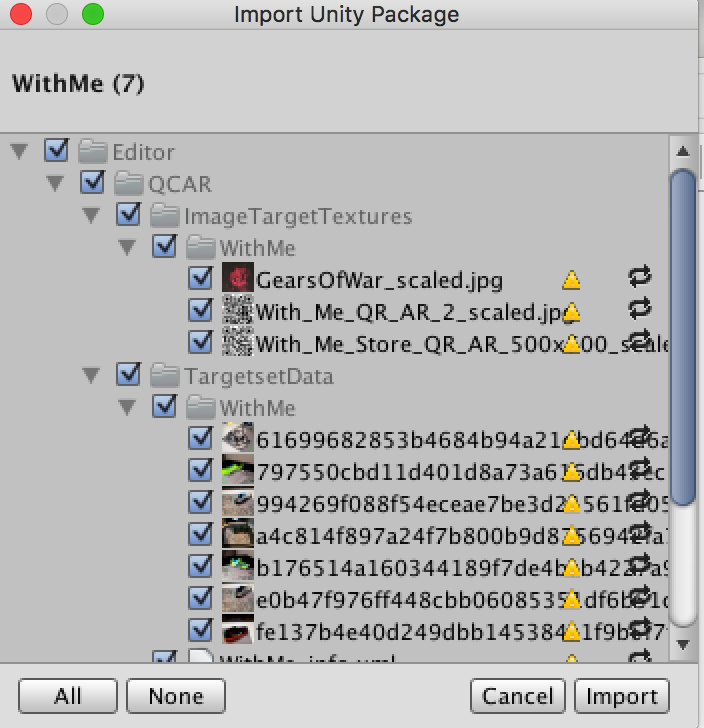
Find and Import Vuforia file
Drag the Vuforia project into Unity and import it as well.
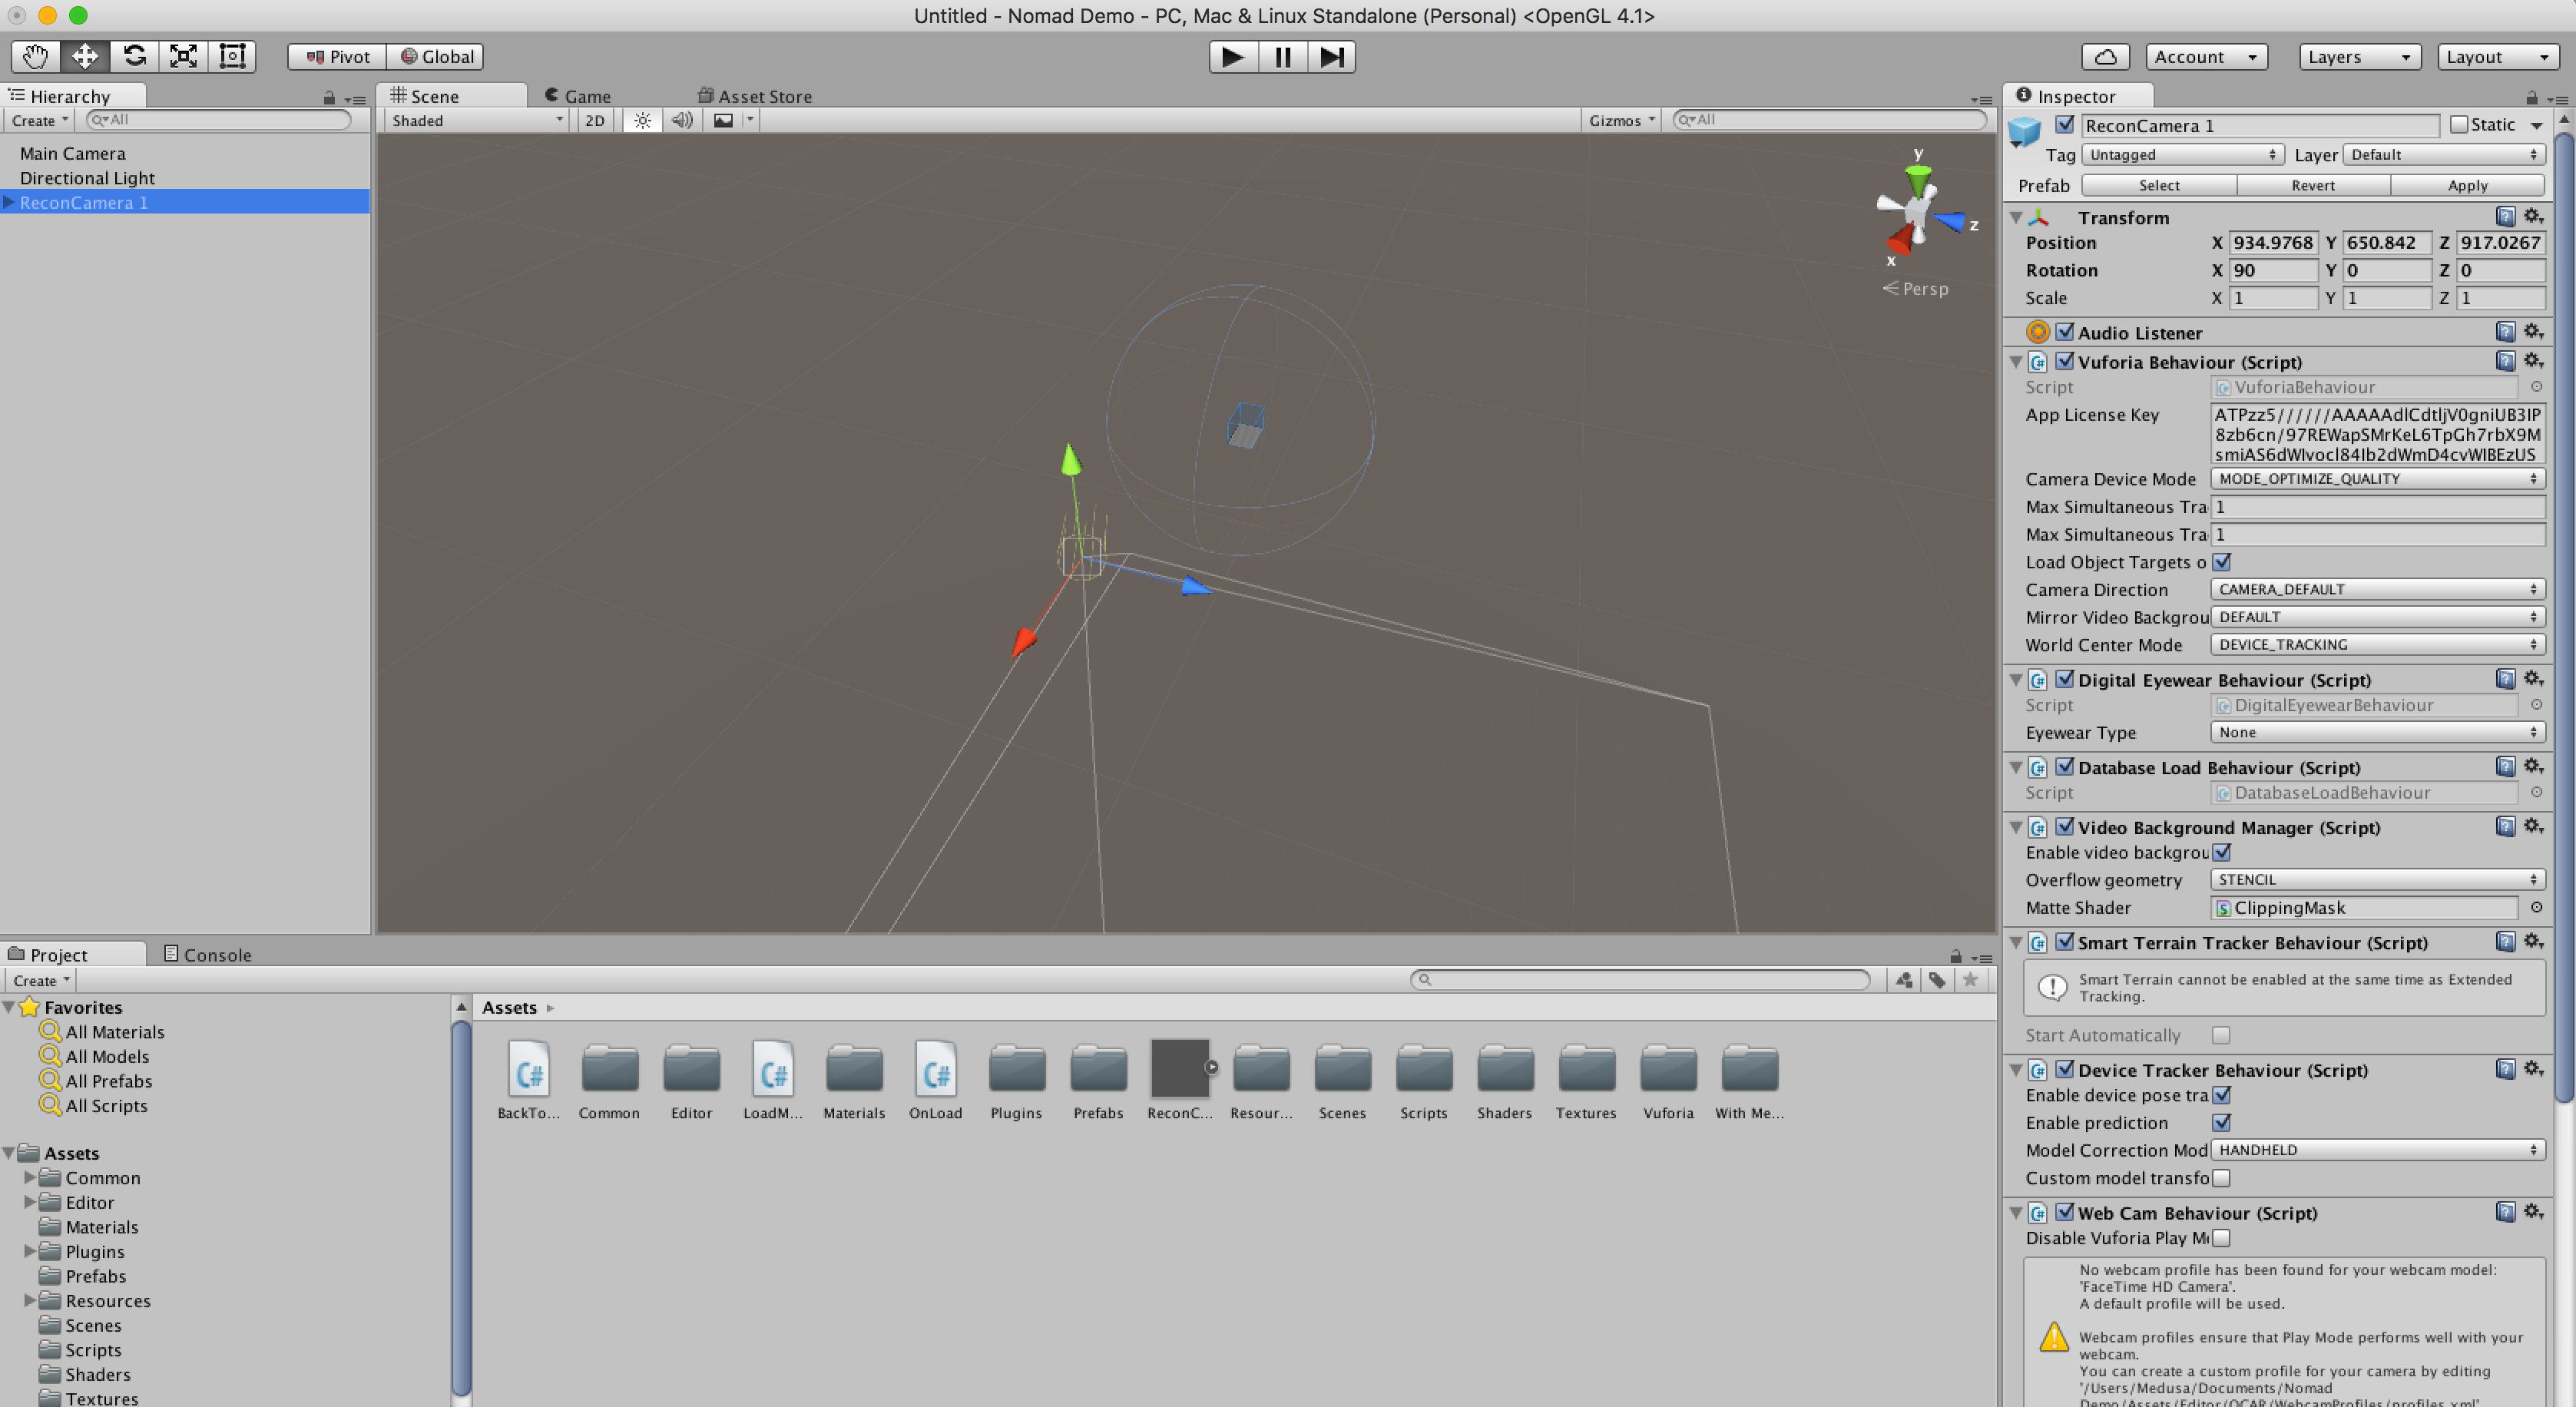
Place ReconCamera1 into Scene
Drag it from Assests folder into your Scene view
Find Model in the ReconCamera1
Click on the dropdown arrow in the ReconCamera and find Model, and select it so it appears in your Inspector
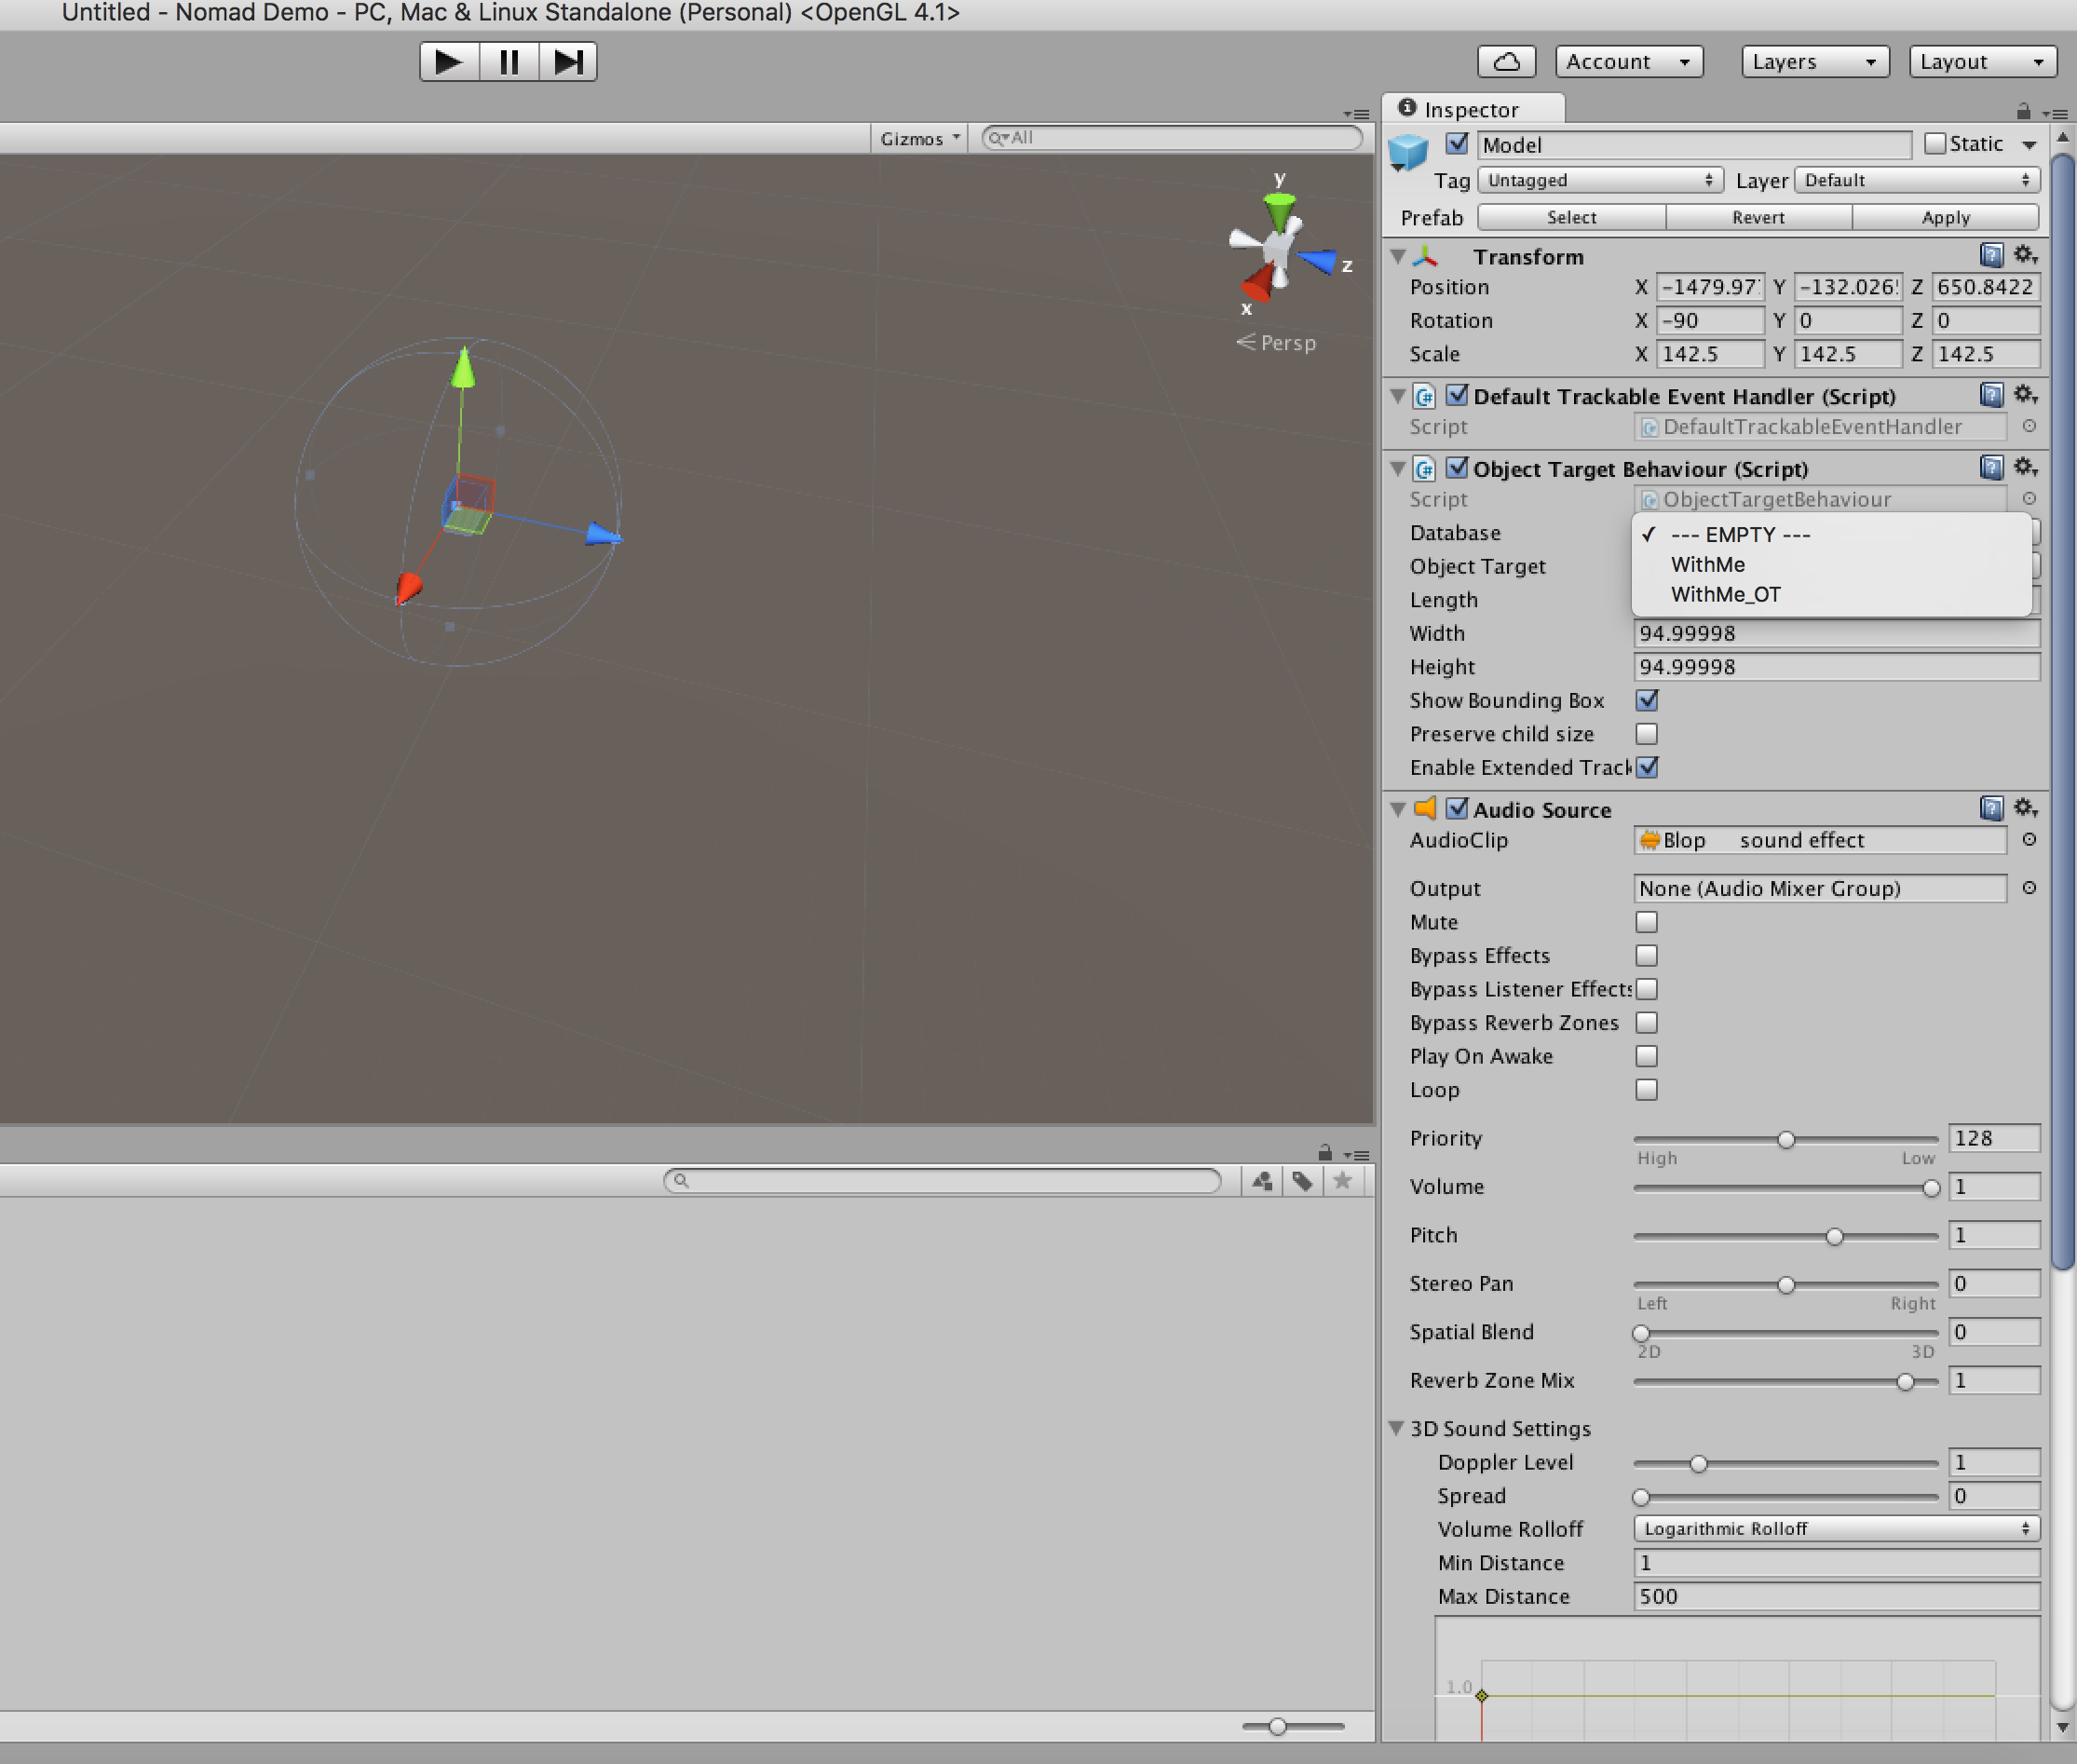
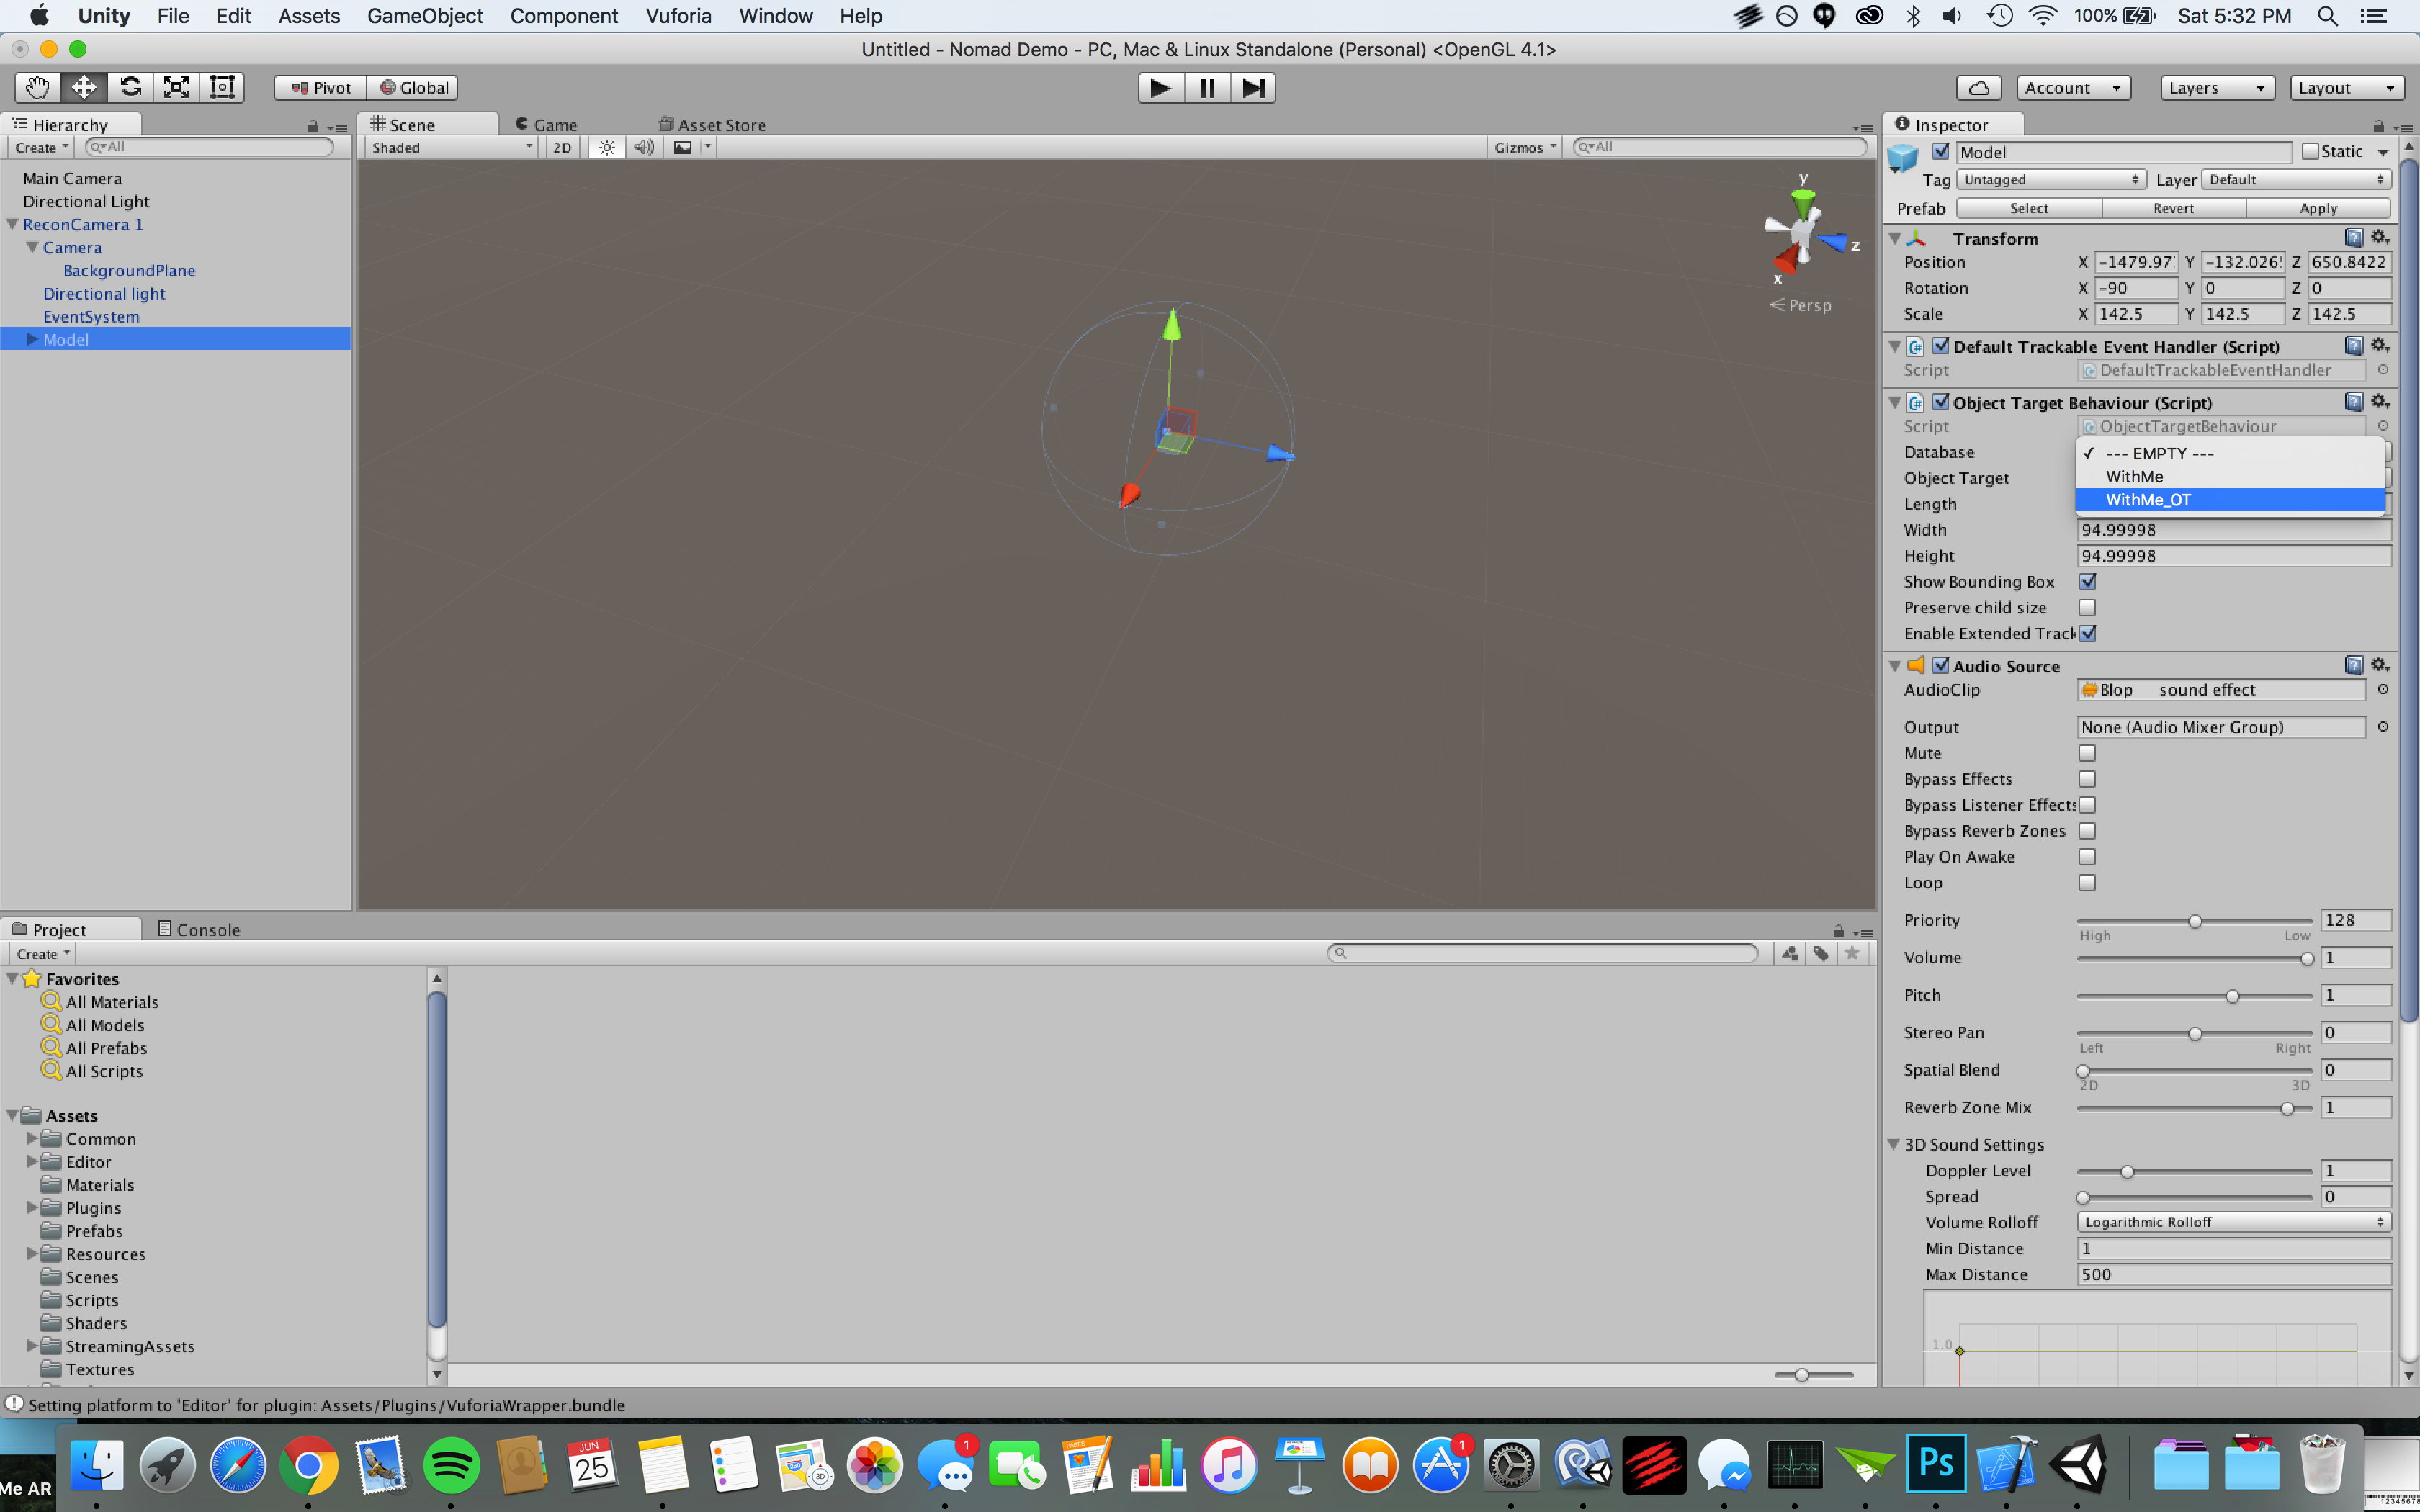
Select your database in the Inspector
In the Object Target Behavior component, click on the Database dropdown menu and pick your database.
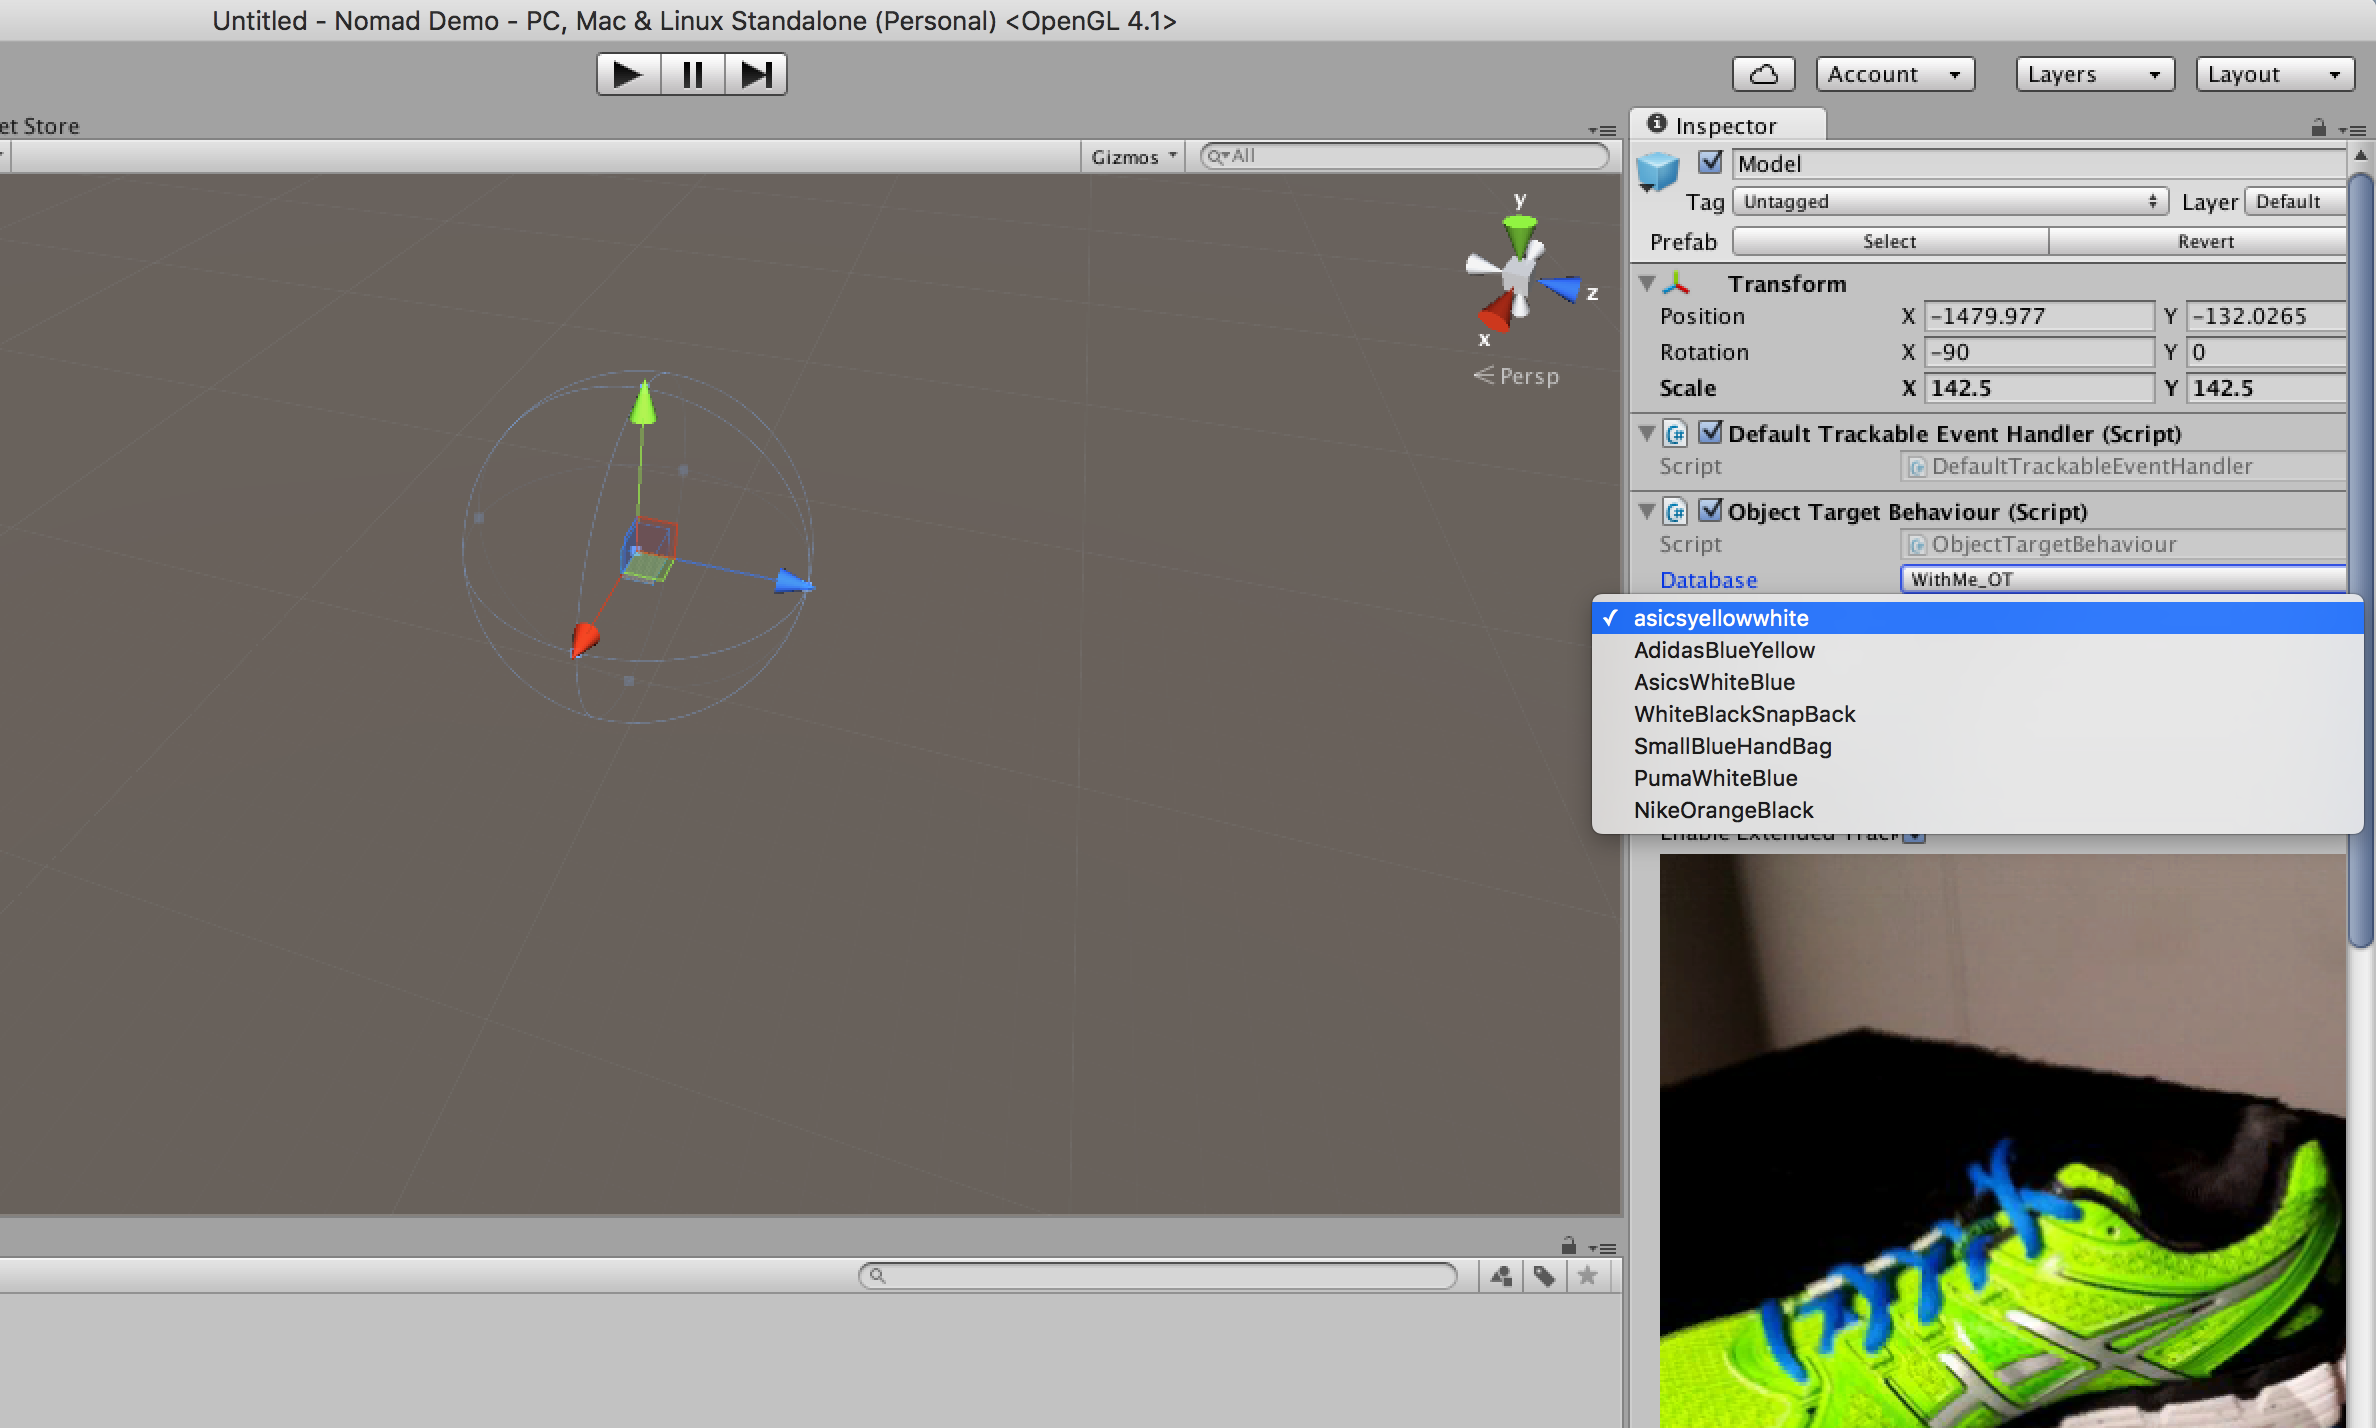
Select your model
Below your database, pick your Model.
Add its URL
Scroll down to the On Load component and enter the URL for your model. CONGRATS! You have 1 model completed. To add more models, duplicate your model object in your Scene view and configure the next model. Repeat until finished.